Notebook Structure
A Fieldmark notebook is a collection of forms that can be used to record data in the field. This page describes the structure of a notebook and the options you have for setting up your data collection forms.
All of this section also applies to templates which share the same structure as notebooks.
Survey details and design metadata
Survey and template properties are split into two layers:
Survey / template listing fields (edited in the dashboard Details tab or when creating a survey/template):
Name — title shown in the app and dashboard (required)
Description — optional short summary for listings and admin (up to 250 characters; not copied from a template, source survey, or uploaded JSON design file)
Design metadata (edited in the notebook editor Info panel; stored inside the design bundle):
Design purpose — rich text design documentation (shown in the app notebook summary and dashboard details as “Design purpose”)
Design lead — free-text label for the person responsible for the form design (not the same as the account that created the survey)
Lead institution — organisation name
Notebook version — your own version label for the form definition
Enable QR code search — when enabled, users can search records by QR code on the record list
You can still add custom key/value pairs in the designer; these are kept for compatibility but are not part of the fixed design fields above.
Notebook Design
The main part of the notebook structure relates to the design of the data collection forms. A notebook can contain one or more forms; each form will generally correspond to a thing that you might observe or create a record of. Since you can have multiple forms within your notebook, it is useful to think about how to split up your observations into distinct parts. The way that you do this can often facilitate your later analysis of the data.
You will see later that you can define relationships between forms; this can be useful if, for example, you want to associate many trees with a plantation or create records every time you change the SD card in your camera trap.
A form consists of one or more sections and each section contains one or more fields. Fields are the base building block of your forms where users will enter data. Sections are arranged in order within your form and you can use them to create shorter pages for data collection or define a workflow sequence that your users should follow.
Form Name
The form name is important in the presentation of the notebook to users. It should be the name of the thing that you are documenting. It will appear in the create new record button as “Add New XXX” (or in shortened form if there are many buttons as “+ XXX”). You should use a name that fits, so ‘Tree Observation’ rather than ‘Form for Tree Observations’.
Form Settings
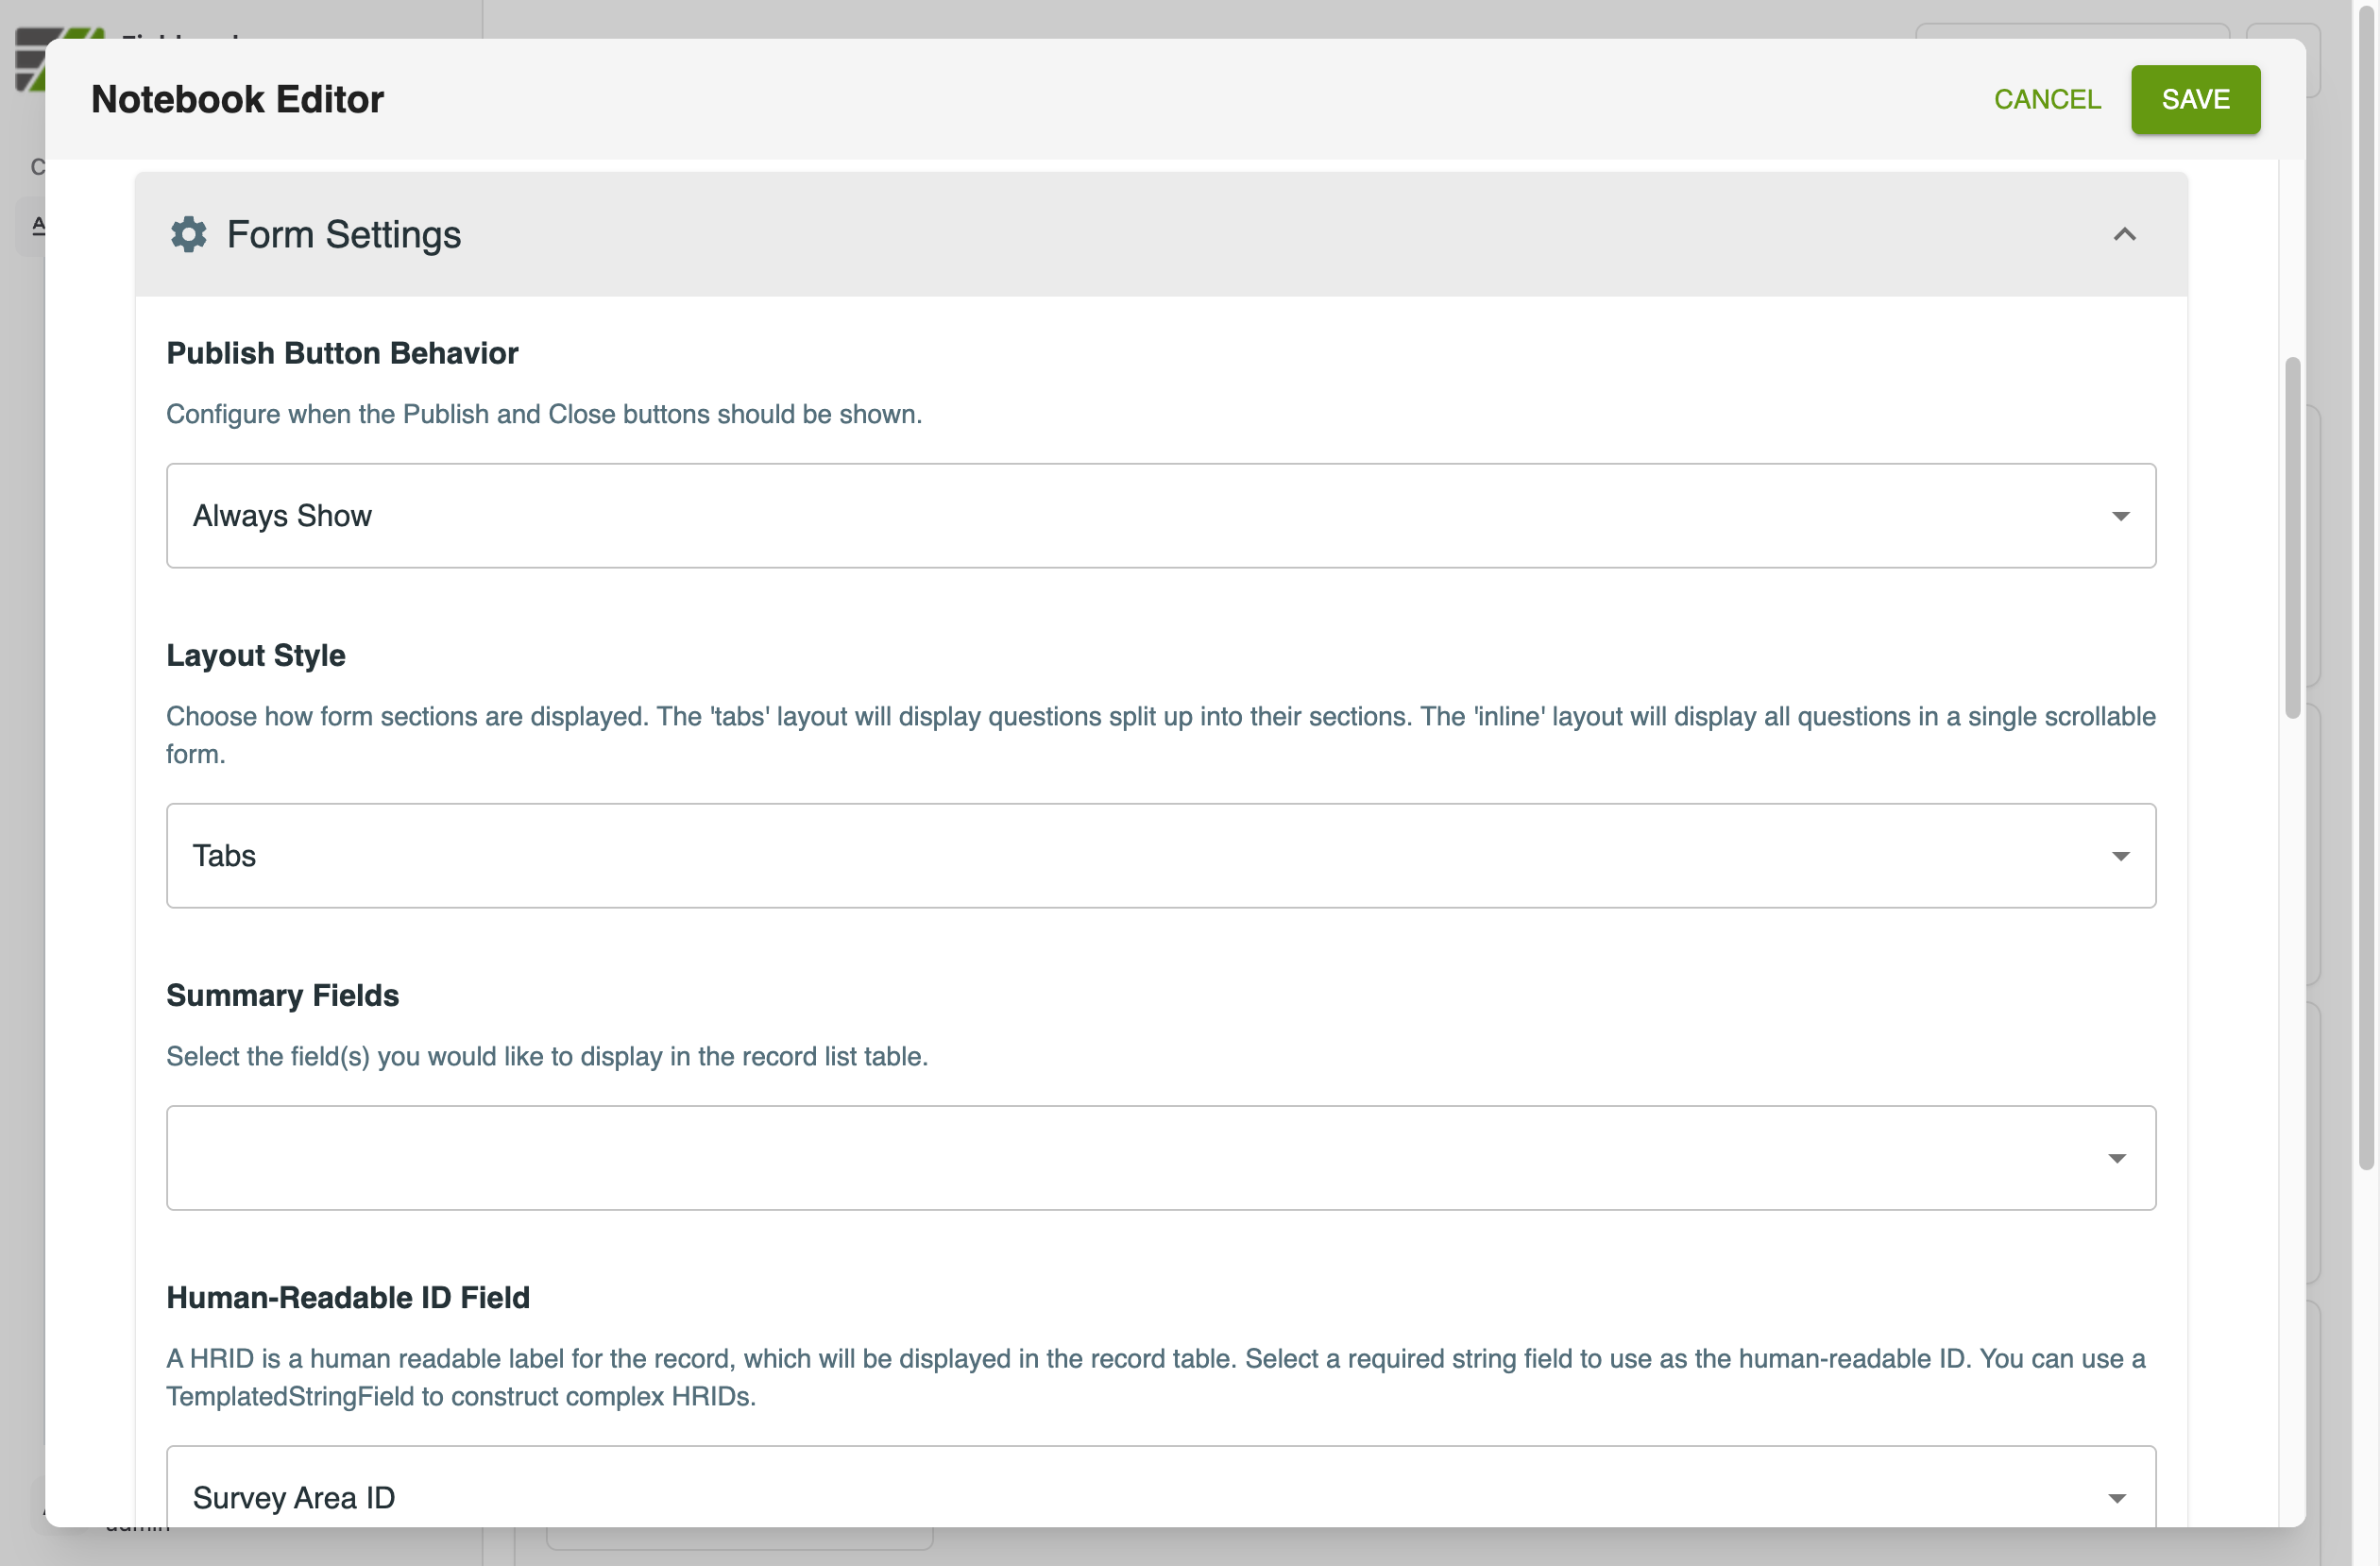
A form has a number of settings that can change the behaviour of the form. These are shown here in the screenshot from the notebook editor.
Finish Button Behaviour Changes the behaviour of the ‘Finish’ buttons in the form. These can be shown at the end of every section, only shown once all sections have been visited, or only shown when there are no errors in the form. Note that, if the buttons are not shown, then users cannot cleanly exit the record. Note: this option is deprecated and currently has no effect.
Layout Style allows you to choose to show section within the form on different pages (tabs) or in a single page (inline). The inline display will separate the sections with a heading (the section title).
Summary Fields allows you to select which fields will be displayed in the summary table listing existing records. This can be useful to get a quick overview of the records that have been collected. The display will adapt to the browser or device width, so all summary fields may not be able to be displayed at all times.
Human Readable ID Field it is useful to have a human readable identifier for each record. This option allows you to select which field is used for this purpose. This would often be a Templated String Field that contains an informative name for the record.
Another setting that is shown at the top of the page in the form editor is Include “Add New Record” button. If this is checked, then the app will show a button to create a new record from this form in the notebook. You would not check this if the form were intended to be a child record for another form; in that case, you would create child records from within the parent form rather than from the main notebook page.
Conditional Sections
Sections within a form group fields together as part of a workflow or just to break up a long form into pages. A useful feature is to be able to show a section conditionally based on the value entered for a field in an earlier section.
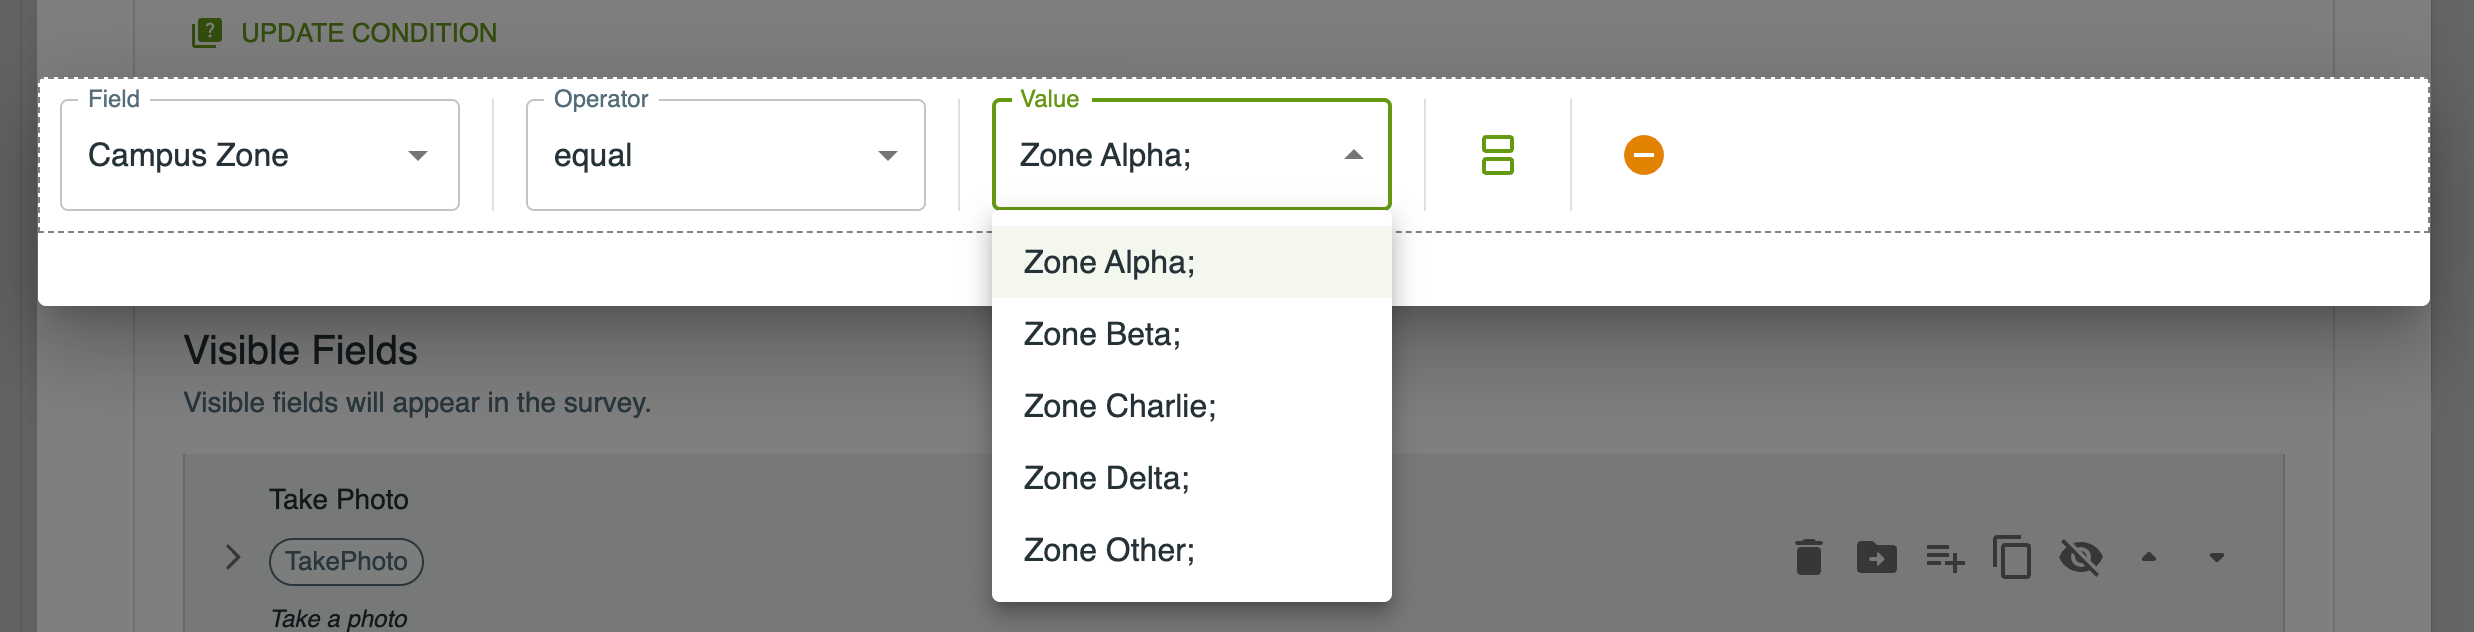
In this example we have chosen a ‘Select’ field for the condition and we can choose which value must be selected to have this section displayed. Alternately we could have a condition that asked for one of a number of values. Conditions can be complex and nested as required to express the logic of your workflow. For more details see the page on Conditions.
Fields
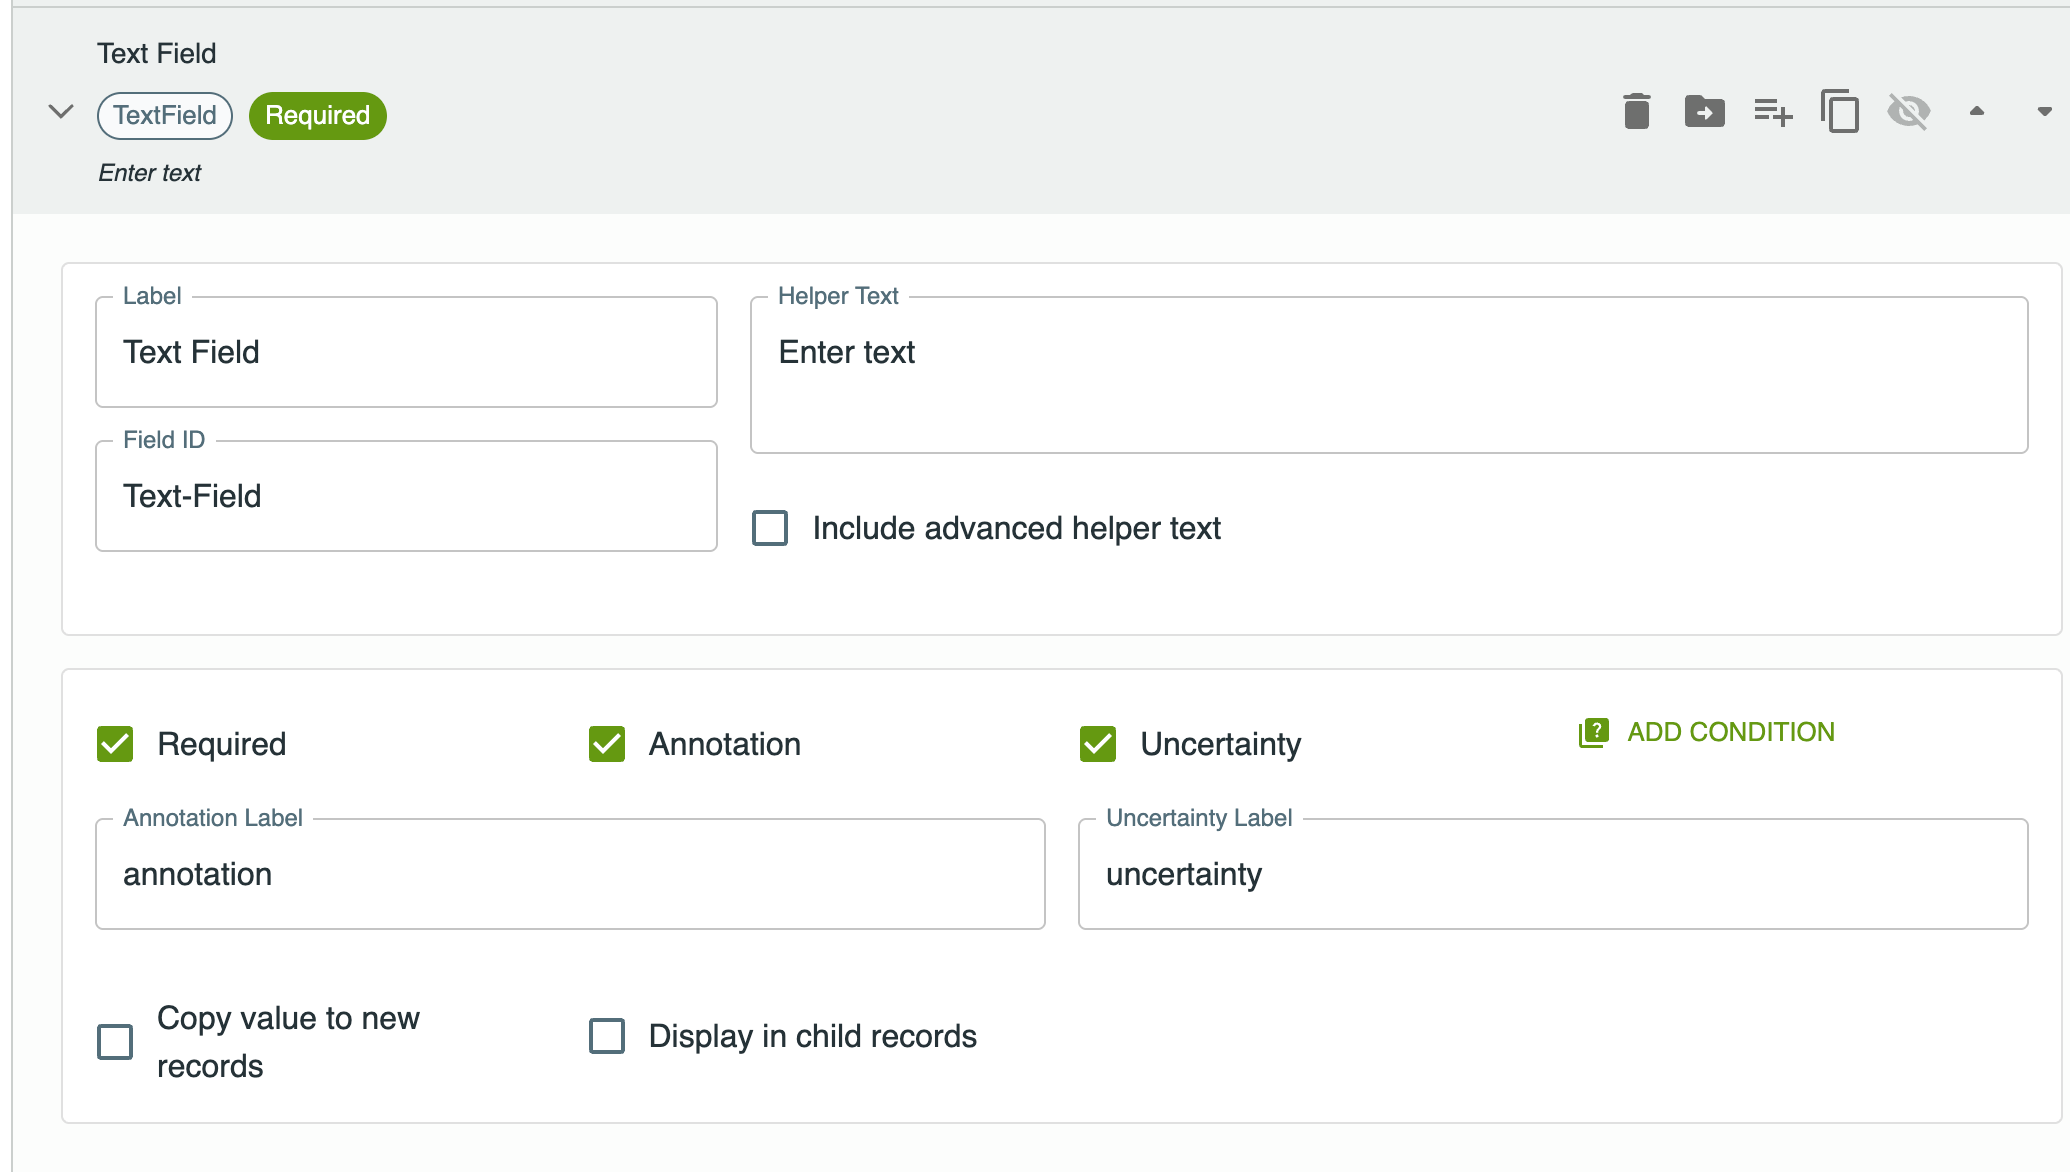
Fields are the basic building block of a notebook form and there are many field types to choose from in building your form. The configuration of each field type is different but the editor view of a text field here shows the common properties of all fields.
A field has a Label that is a human readable name for the field, this is presented to the user and shown in most places where we refer to the field. There is also a Field ID which is an internal identifier - this needs to have no spaces and be unique within the notebook. The field ID is usually derived from the label but you can change it if you wish. You will see the field ID when you export data as the column name for this field in the exported CSV file.
There are two options for adding helper text to a field. The main “Helper Text” box that you see here will add text that appears next to the field as a prompt to the user. If you want to include more extensive help, you can enter rich text by checking the “Include advanced helper text” checkbox. This will create a help icon next to the field which the user can click on to see the help text.
In the lower half of the configuration panel you can set a number of options for the field. The Required checkbox indicates whether this field is required; if a required field is missing this will show as an error to users, although they will still be able to finish and save their data.
The Annotation and Uncertainty checkboxes enable the option to add these during data entry. An annotation is a textual note associated with the field value. Uncertainty includes an additional checkbox associated with the value. You can change the names of these to suit your purpose. So, you might label the annotation as ‘User Note’ and the uncertainty checkbox as ‘Reading unclear’ for example. These have no special meaning to the system, they are purely a way to include extra data alongside any data you are capturing in the form.
There is also the option here to add a condition to the field. This will mean that the field would only be shown if the condition is met. See the page on conditions for details.
The final two checkboxes relate to the behaviour of the system in relation to other records. Copy value to new records means that whatever the most recent value of this field is, that will be pre-copied into the same field when the next record is created. This is useful if you are collecting data in a location and one value - eg. the site address - is the same for many records.
The Display in child records checkbox configures whether the value of this field will be available to view in any child records that are created. This might be used to have the site name visible while filling out details of a building on the site, for example.