Getting Started as a Data Collector
Fieldmark is a mobile app for collecting data in the field and can be used in a wide range of projects. Each notebook is a collection of forms to allow you to enter data for your project. As a data collector, you will be using the mobile app to enter data for your project into one or more notebooks.
Install the Fieldmark App
The Fieldmark app is available for Android and iOS devices. You can install the app from the Google Play Store or the Apple App Store.
Registration and Login
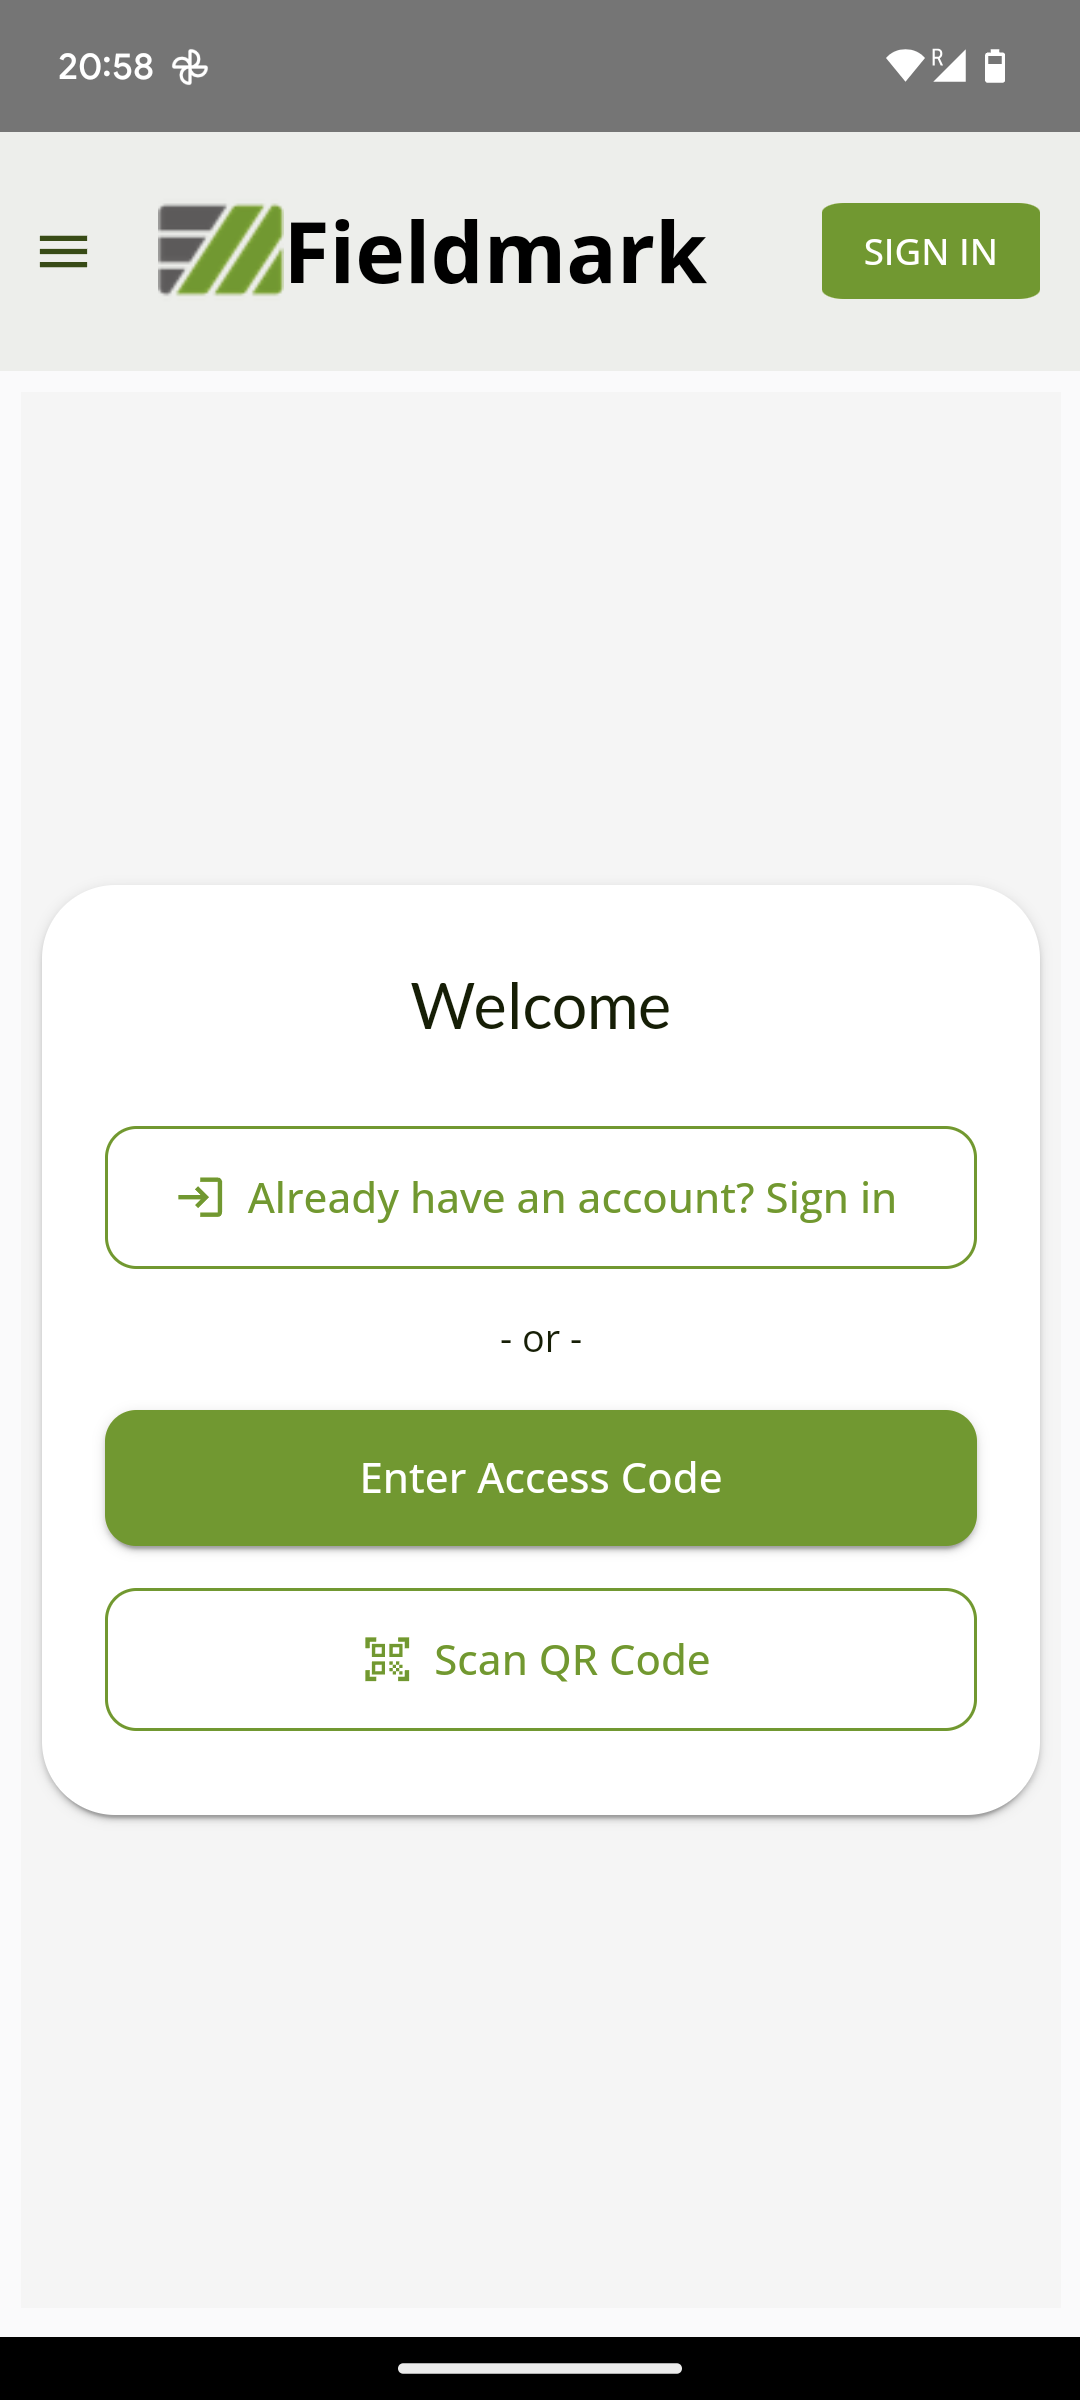
When you open up the app for the first time you will see the registration/login screen as shown here. Here you can login to the app if you already have an account or use an access code or QR code to register an account and get access to a notebook.
You need an account on Fieldmark to collect data so that the records that you create can be associated with you. The Fieldmark server keeps minimal information about you - your name and email address - this is only used within the projects that you collect data for and will never be used for marketing or other purposes.
Your Invitation
Once the mobile app has been installed, you can get access to a notebook by getting an invitation in the form of an access code or a QR code.
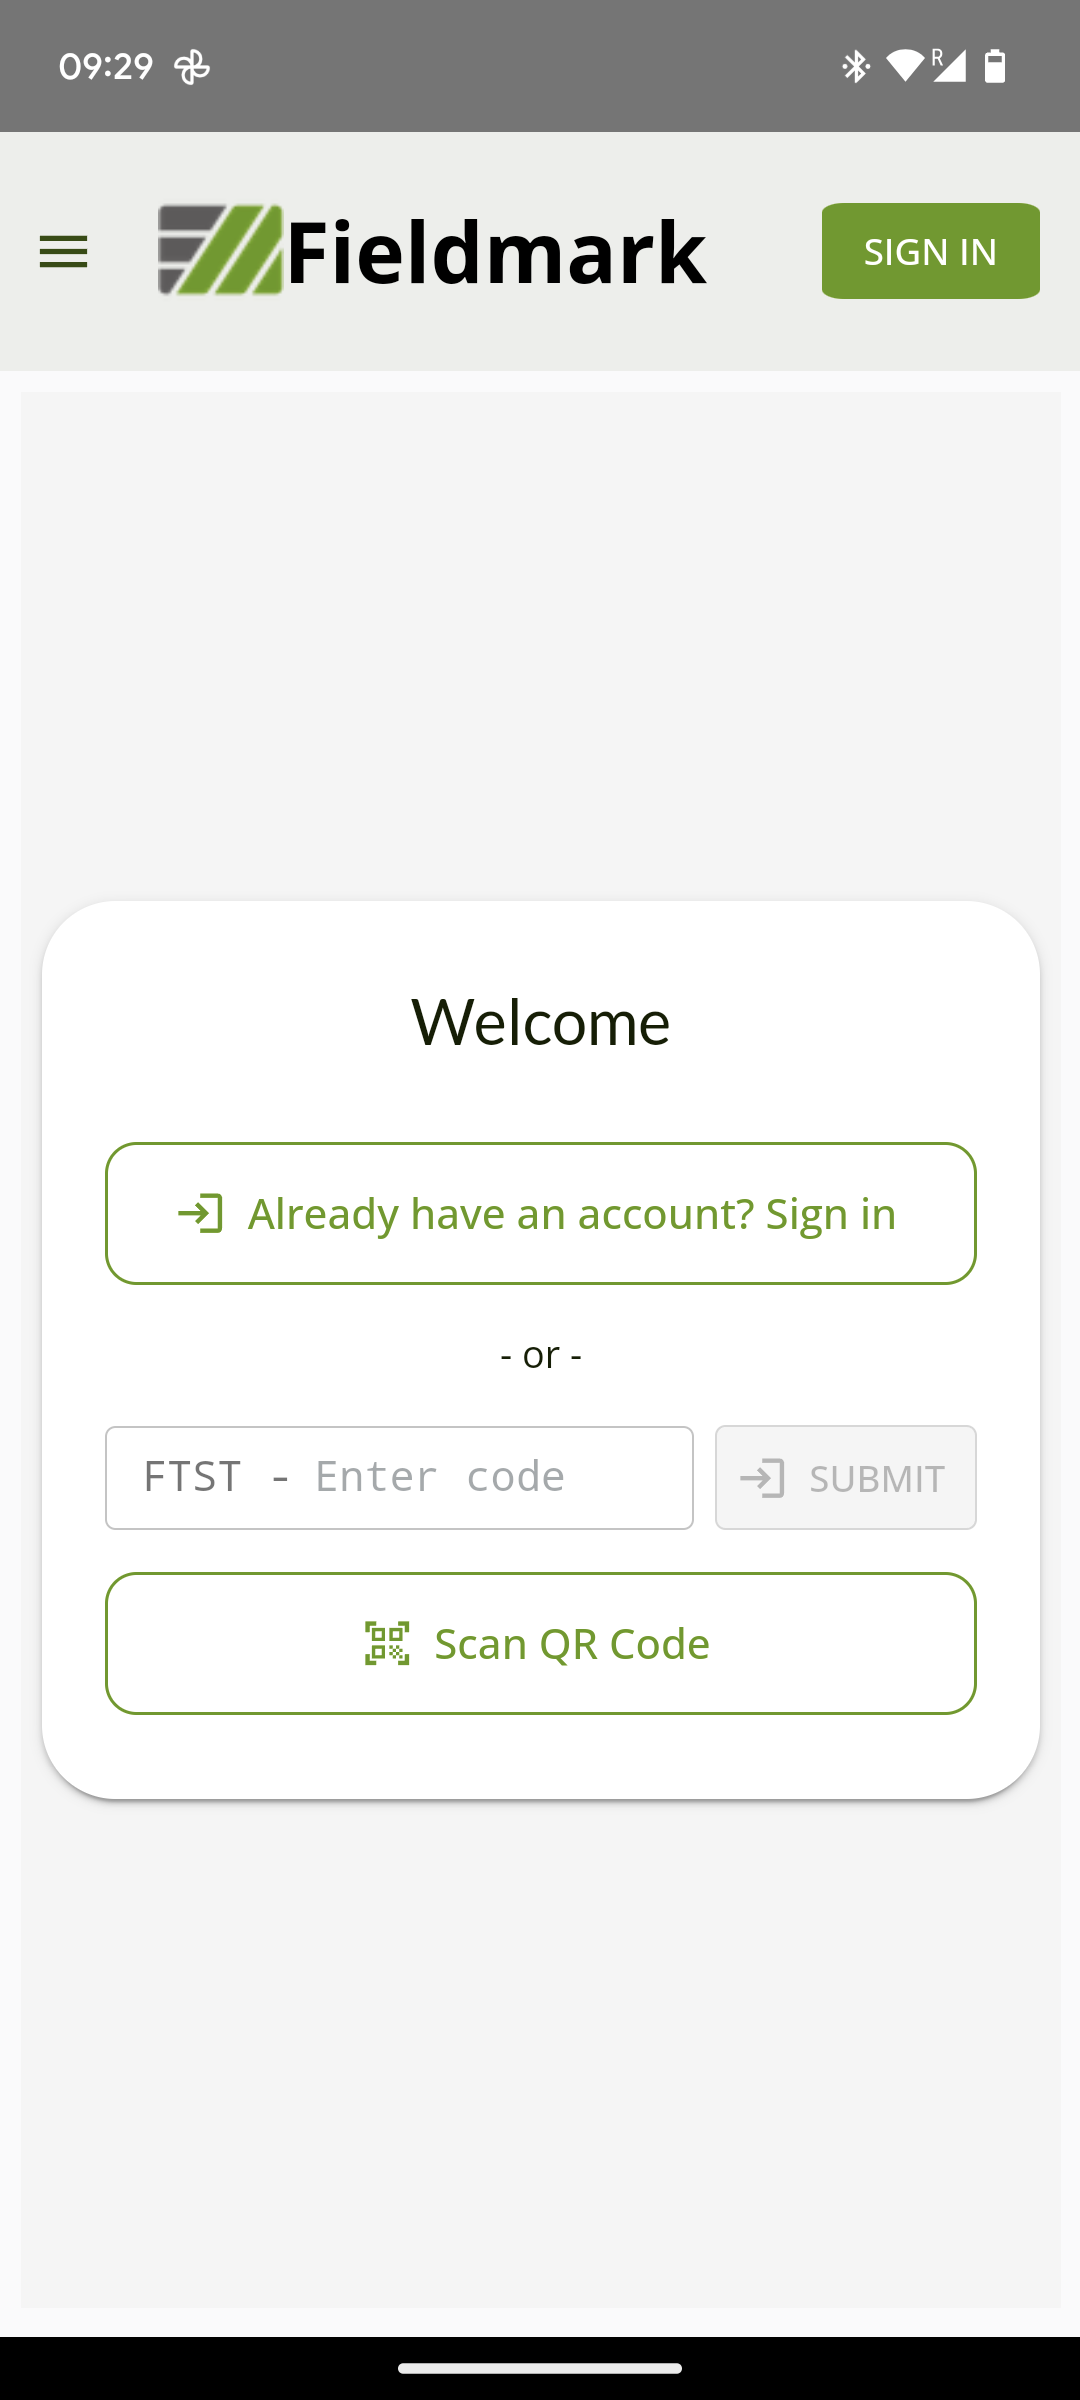
An access code looks something like FMRK-ABC123 and gives you access to a notebook. The first part (FMRK) is a prefix that identifies the server and should match the prefix shown in your app. The six character code following that is the code that you will enter in the app. Once you enter the code, you will see the registration screen in the app.
The QR code option makes it easy to get access to a notebook. Click the QR Code button and scan the QR code with your device to get to the registration screen.
If you don’t already have an account on the Fieldmark server, you will be able to register for an account at this point. You can either register with your email and password, or you can use a Google account. At this point, registration just gives you access to this one notebook but you may be given access to others in the future.
If you already have an account on the Fieldmark server, use the button to login instead of registering a new account. Once you are logged in you will be given access to the notebook.
After registering or logging in, you will be shown the main notebook list in the app and you can activate the notebook you will be working on.
Activating Notebooks
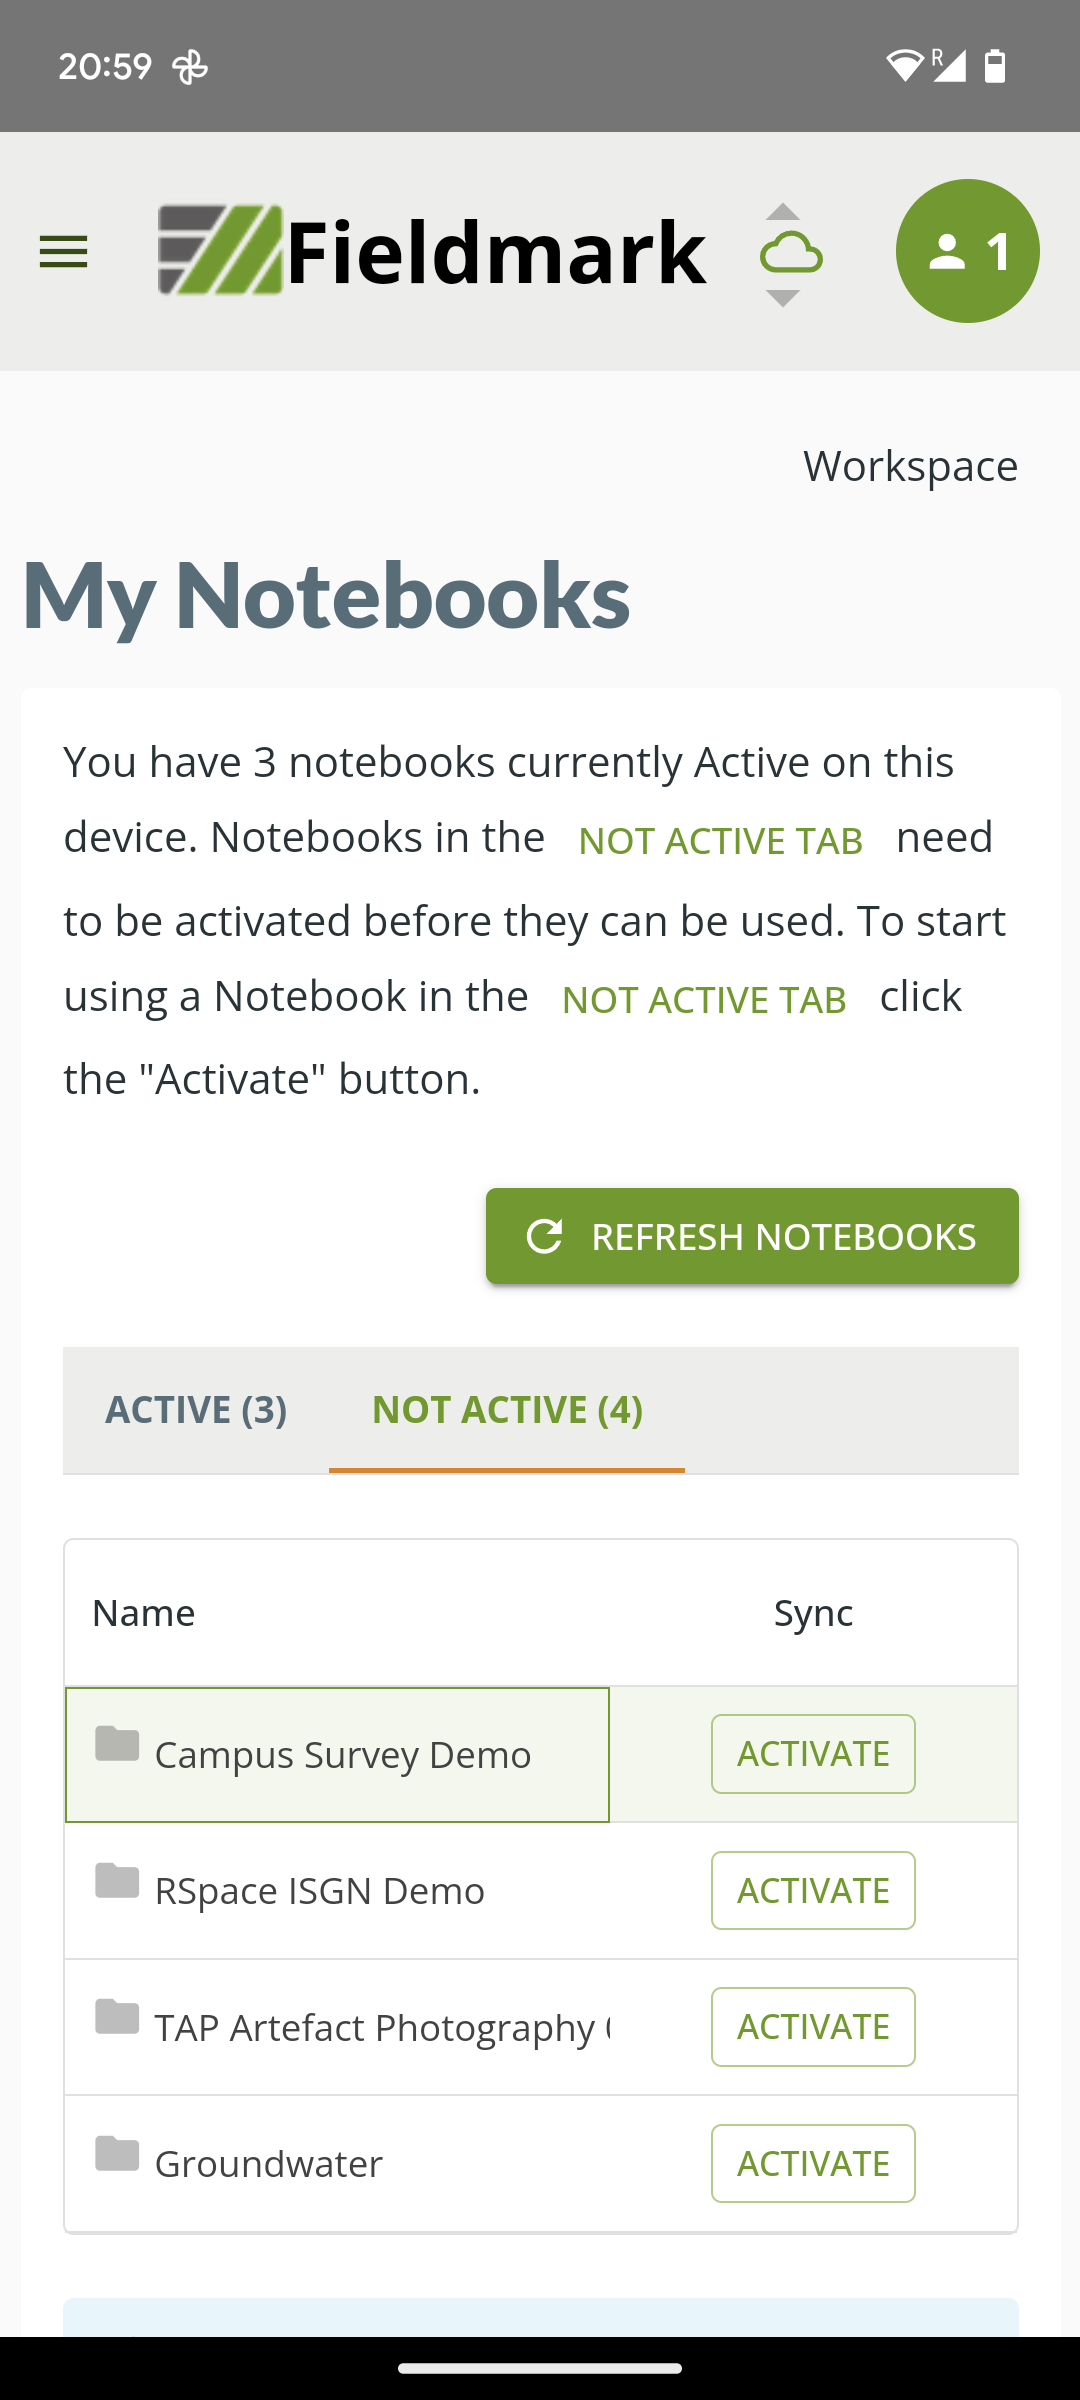
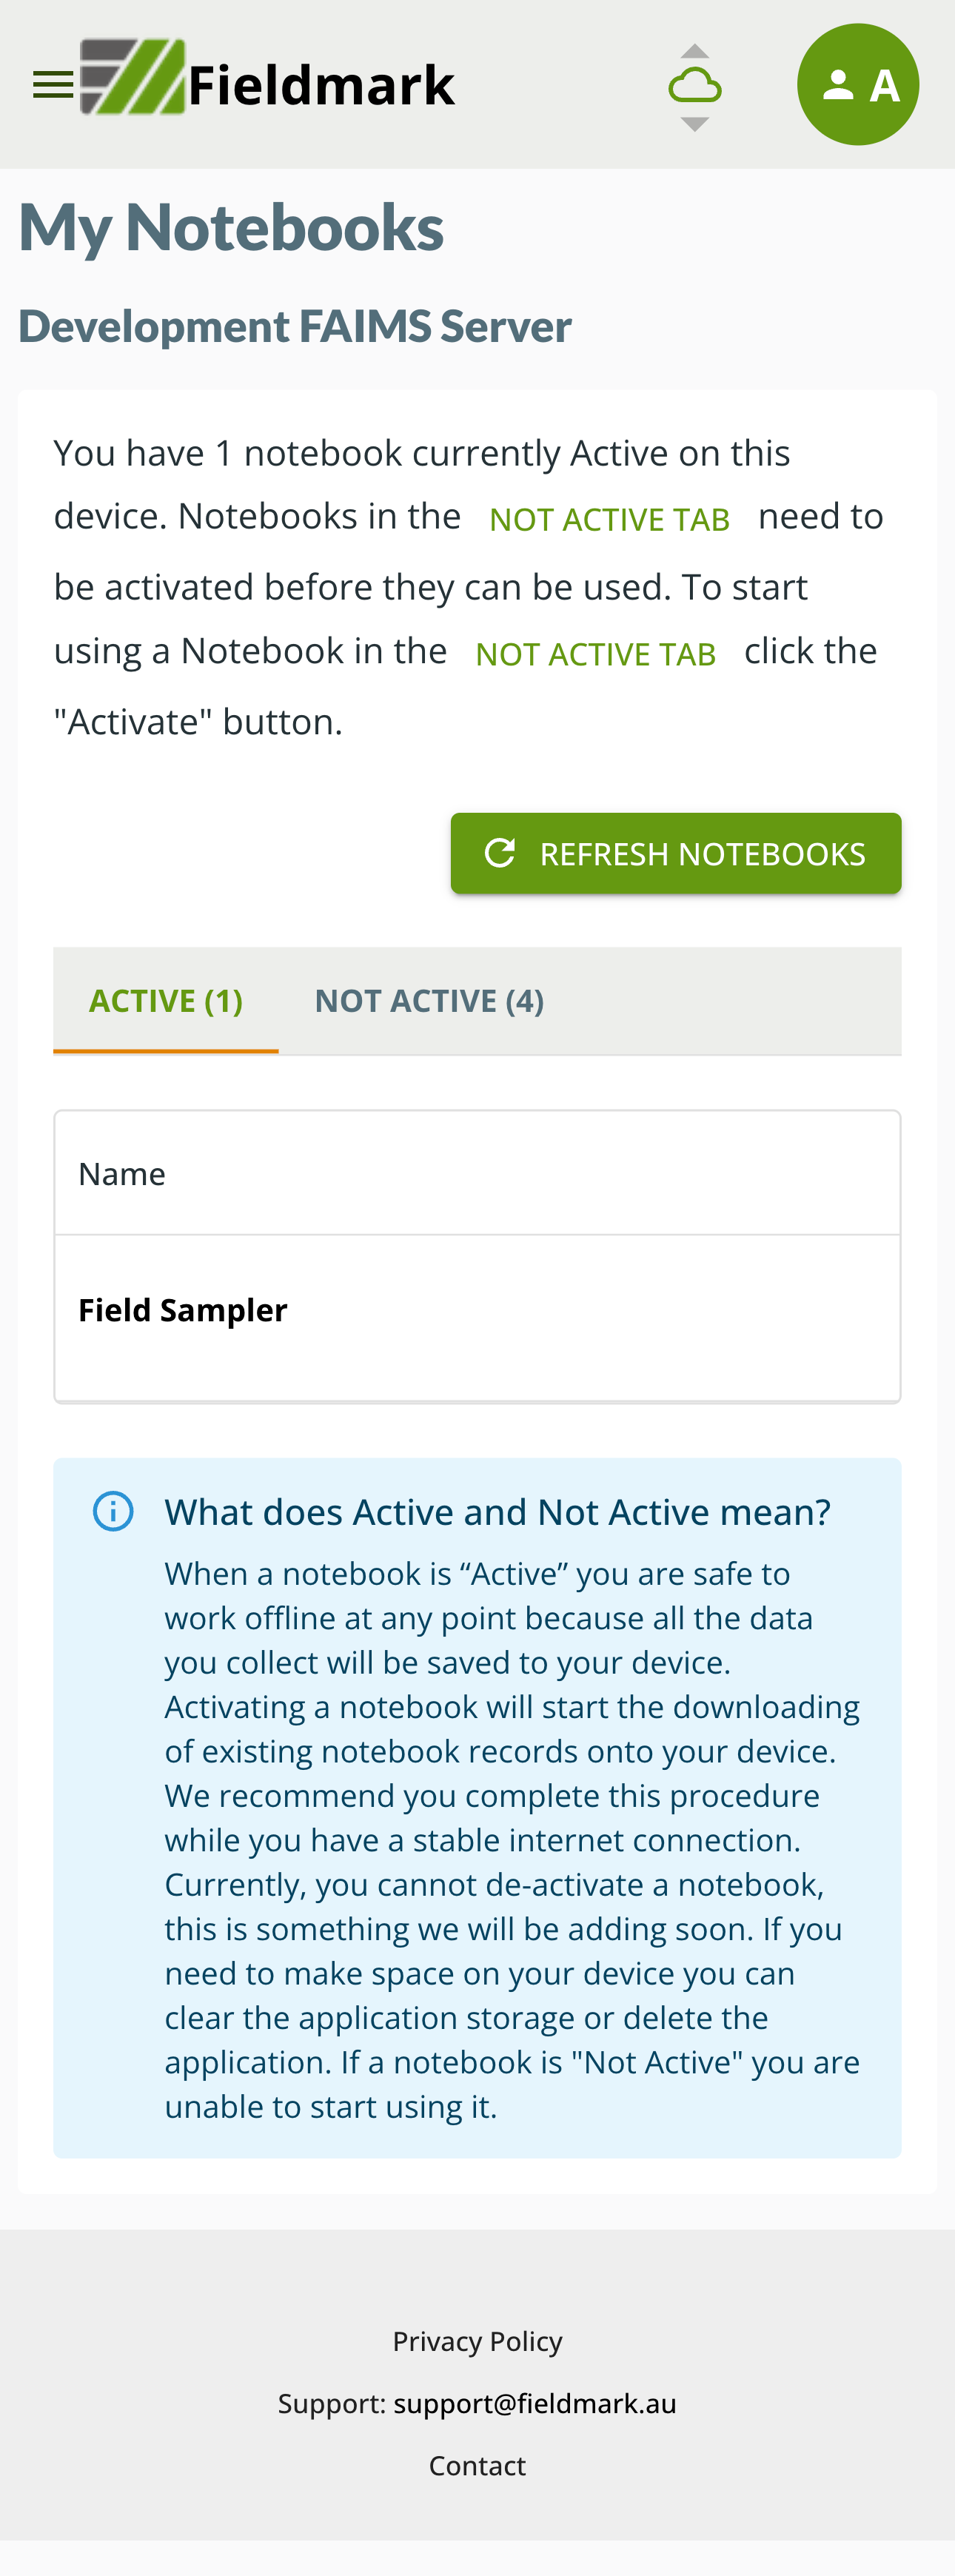
Once you have registered an account you will see the main workspace screen in the app that shows the notebooks that you have access to and those that you are working on. A notebook needs to be activated on your device in order for you to be able to collect data. You will see an initial screen showing active and not active notebooks with the notebook you have just gained access to in the not active list. Your first step is to activate this notebook on your device so you can work with it; to do this, click on the Activate button next to the notebook.
Activating the notebook will create the required databases on your device and begin the sync process that links your device to the server to save your data. Once activated, you can begin to create records in your notebook and these will be automatically saved to the server. You may also be able to see records from other users, depending on your role with respect to this notebook. Once activated, your notebook will appear in the Active list in your workspace.
Using a Notebook
Enter a notebook by touching or clicking on the name of the notebook in the active list. You will now see the notebook page where you can create new records and see any existing records you have access to. The page will look different depending on the design of the notebook you are using.
At the top of the page you will see buttons marked with a + sign that allow you to add new records of a given type: in this case “Add New Main” since the form is called “Main”. A notebook can contain many forms and there can be one or more of these “Add New” buttons configured. Below these you will see the “Refresh Records” button, this will force an update of the displayed list of records - the list will update itself from time to time but sometimes it’s useful to force a refresh
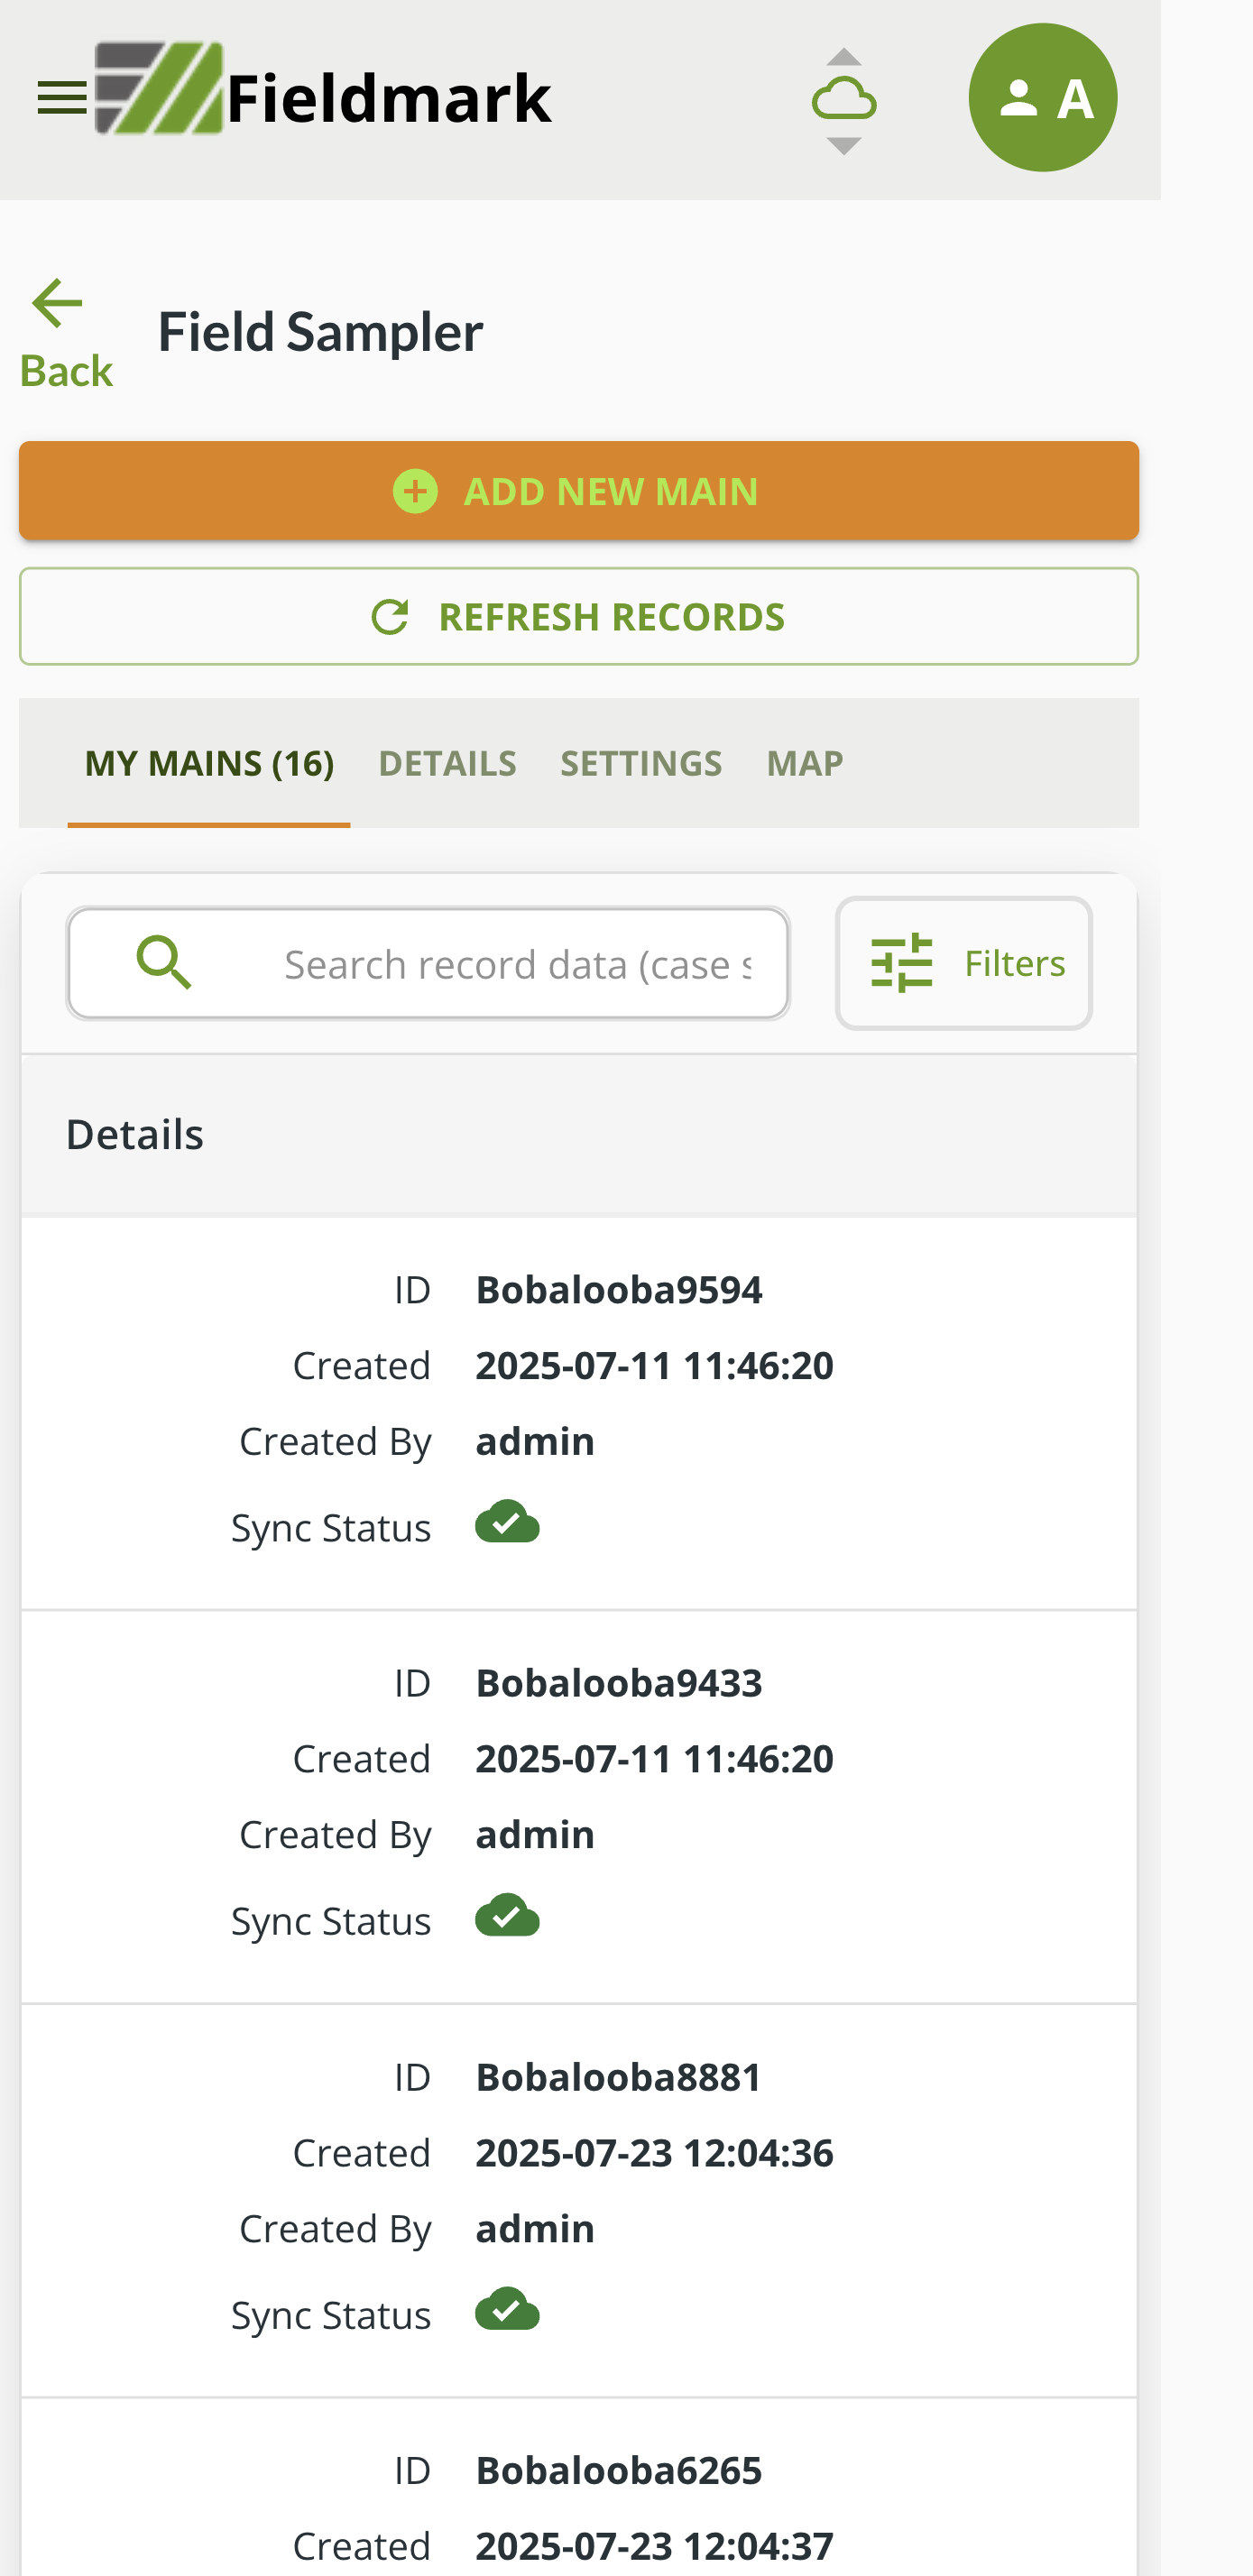
Below these buttons is the area where existing records are displayed along with other information and controls for the notebook. The “Details” tab has some details about the notebook such as the owner and a description of the purpose of the notebook. The “Settings” tab has a number of settings for the notebook on your device. The “Map” tab will show an overview map of the records that have been collected if those records include GPS locations.
The main tab shows “My XXXX” where XXXX is the name of the form or “My Records” if there is more than one form. If you are collaborating with others and have access to their records, you will also see an “Other Records” tab where you can browse the data they have entered.
The list of records shows a few pieces of information about each record; this can be different in some notebooks depending on the configuration. You should at least see an identifier for the record, when it was created and by whom and the “Sync Status”; this last item will show a green cloud with a tick if the record is known to be saved on the server and an amber circle if upload is still pending.
Creating a Record
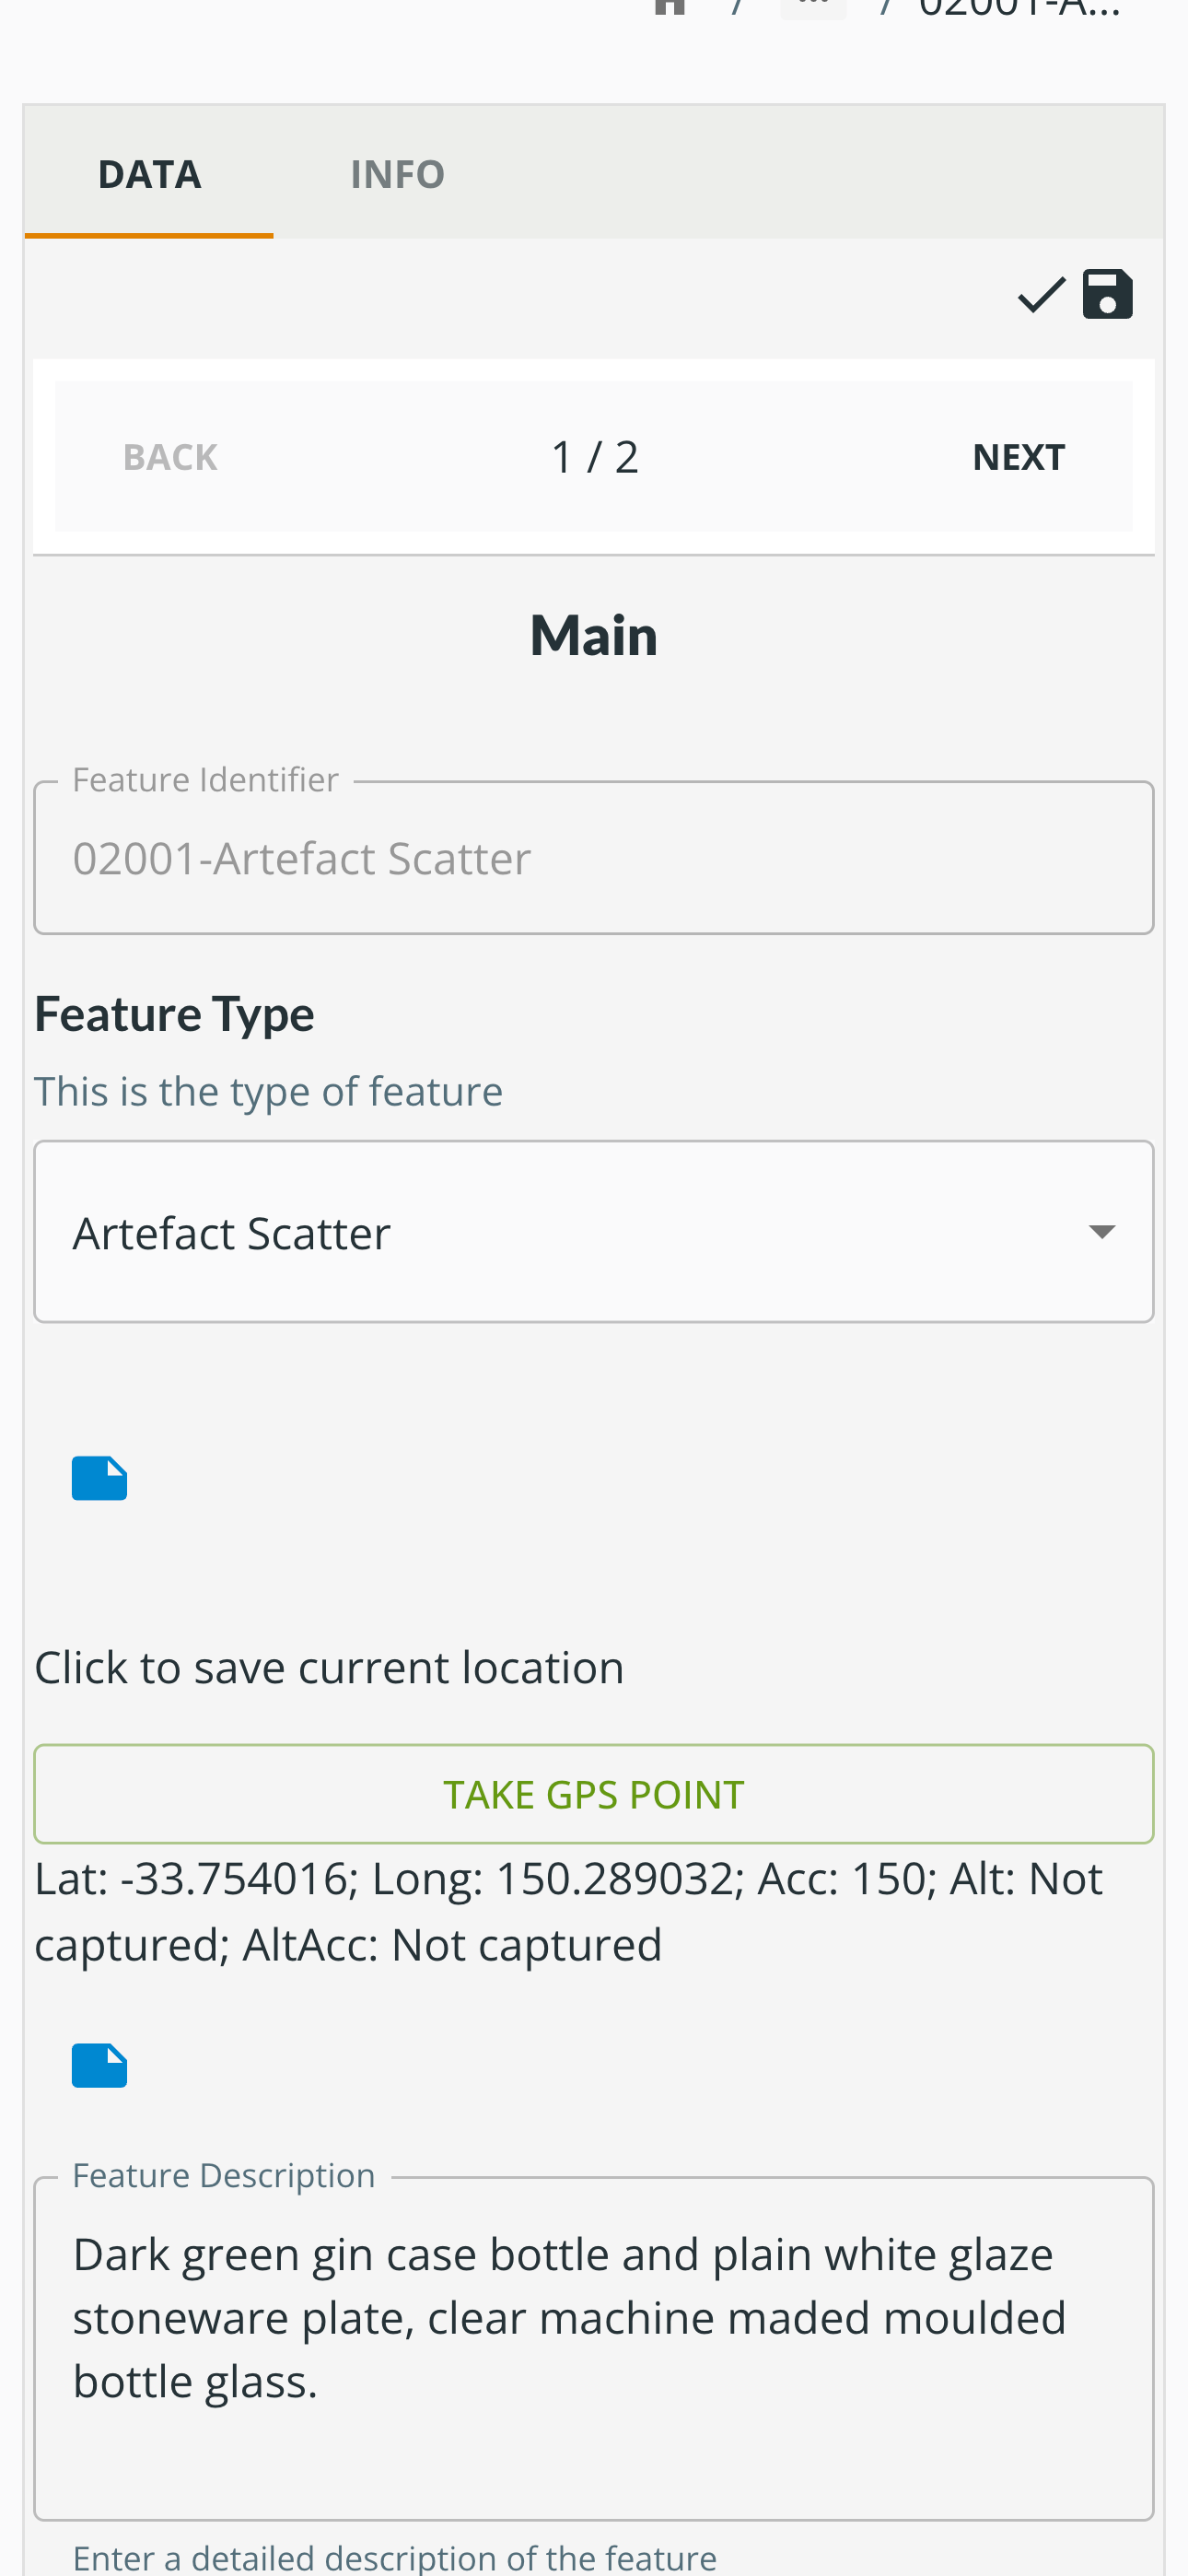
When you create a new record or edit an existing one, you will see a form similar to the screenshot shown here where you can enter your data. The details of the form will depend on the configuration of the notebook you are using.
There are usually two tabs in a record form, ‘Data’ is where you will enter data, ‘Info’ provides some information about the record such as the name of the person who created it and the creation time. There is a third tab that can appear if there are conflicts between versions of this record, we’ll cover that later.
Filling out the form should be straightforward. You have a number of different field types that you can interact with. There will usually be a short help text along with each field and in some cases, longer help is available via an icon next to the field label.
The form you are filling may have more than one section, as shown in the screenshot here where it is showing section 1 of 2 sections. You can navigate between sections using the ‘Next’ and ‘Back’ links.
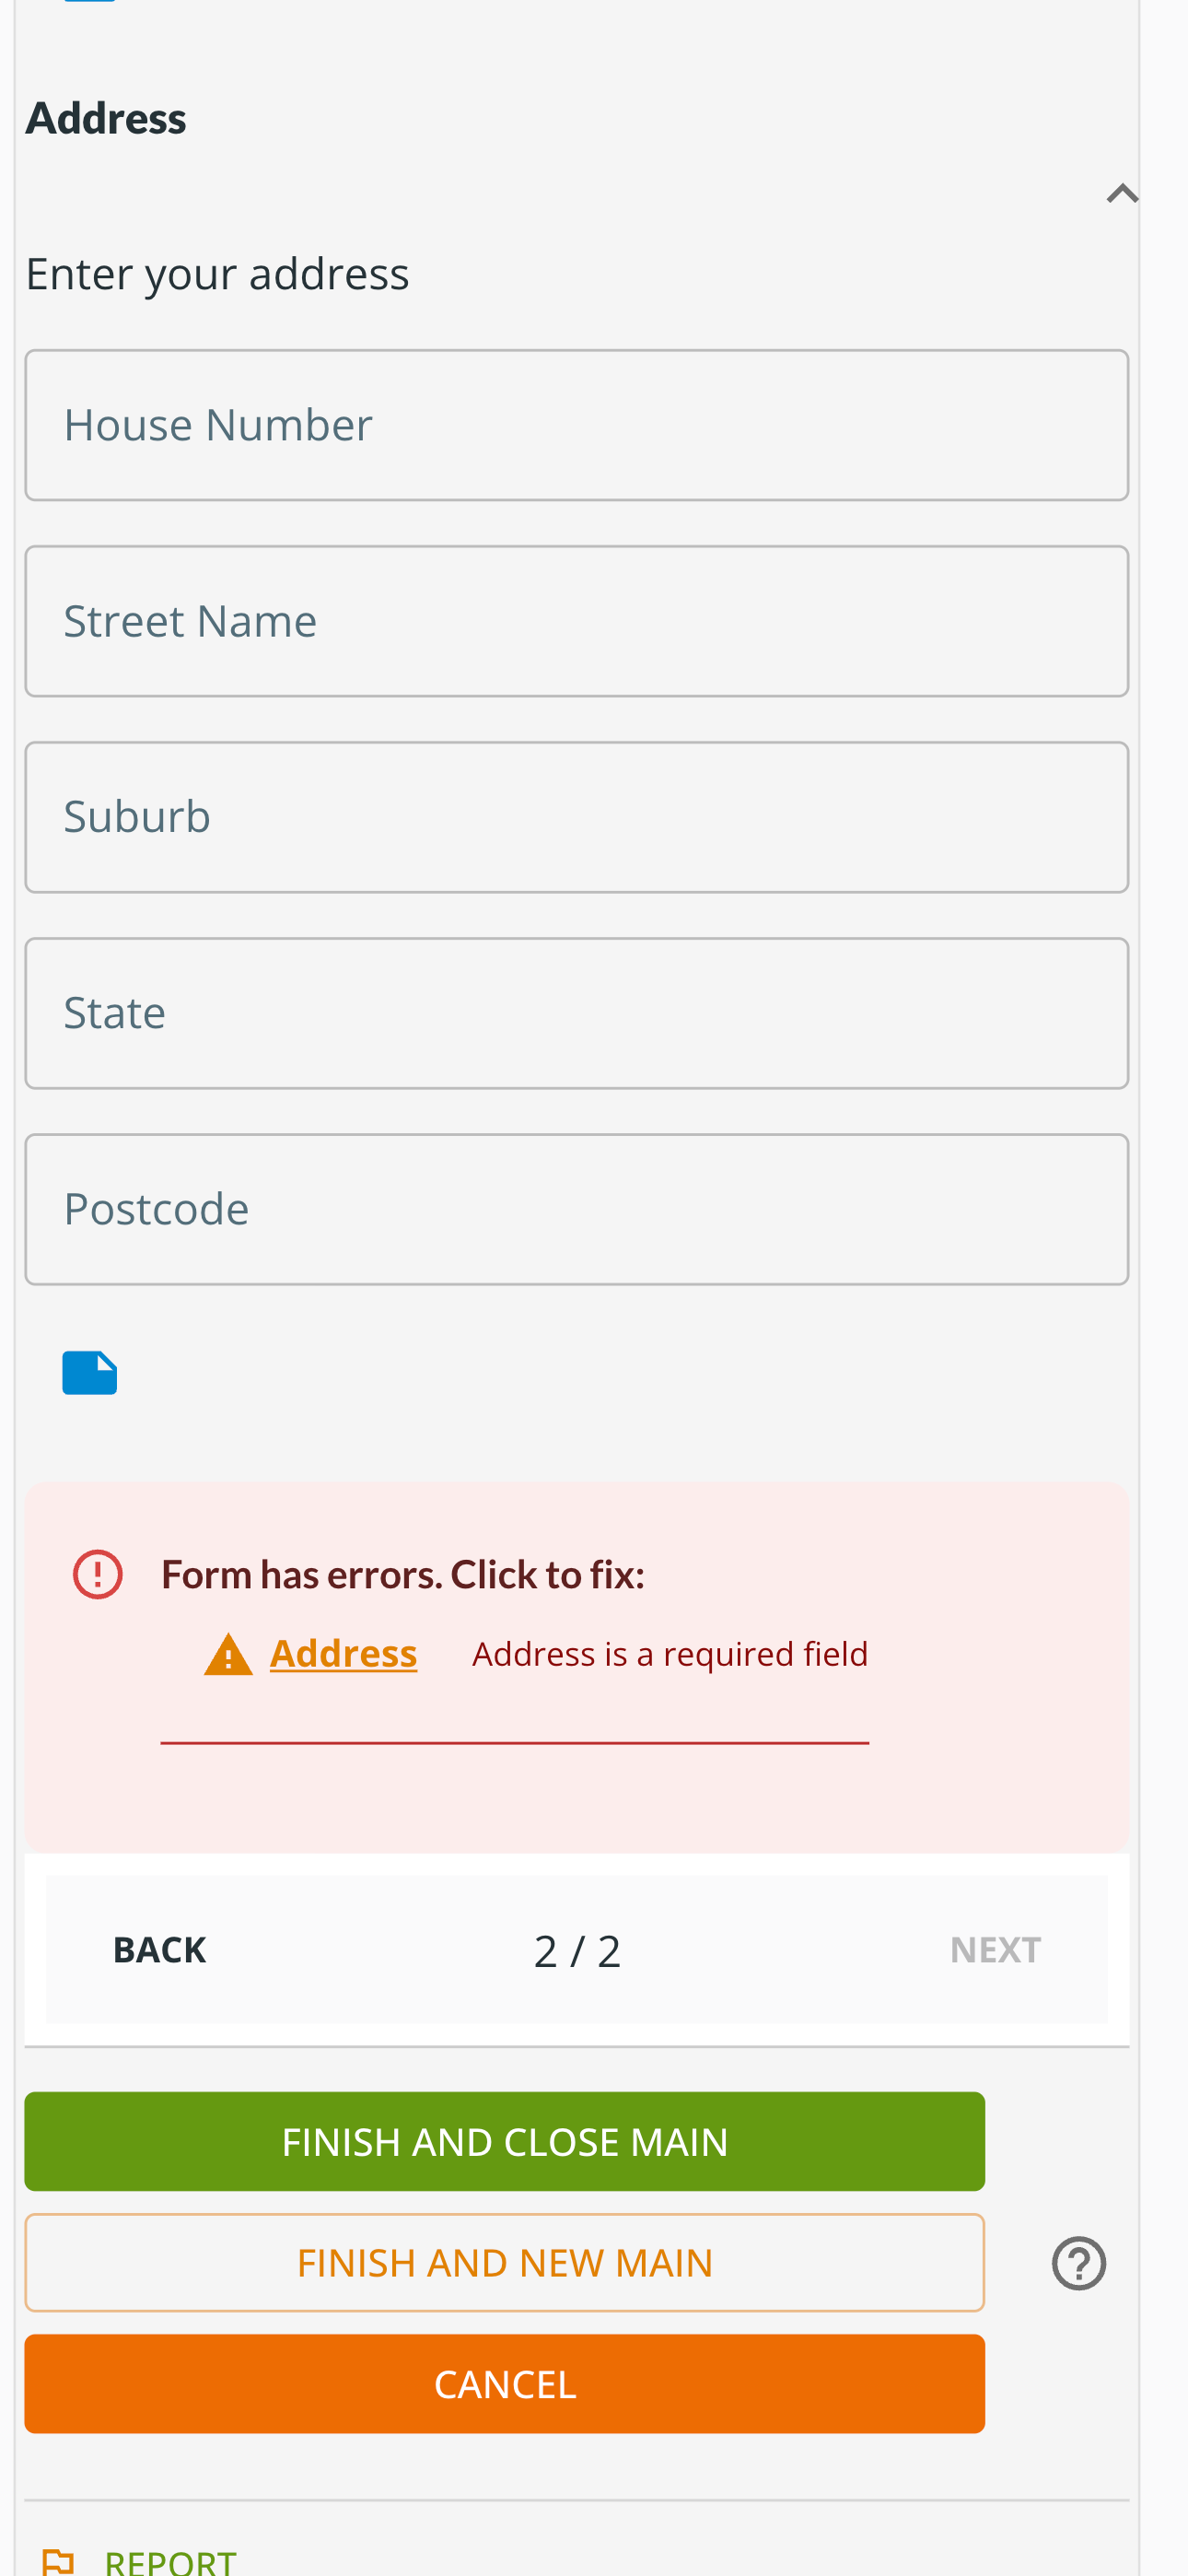
As you complete the form and scroll to the end of the section, you will see the ‘Finish’ buttons as shown in this screenshot. Above this, you may see a warning as shown here if there are errors in the form - generally if you have missed entering some data. The error message should include a link that will scroll to the field that is missing. If the error is in a different section of the form, it will link you to that section.
If the form has errors, you are still able to finish your edits, all of the data that you have entered will be saved and you can come back later to fix the errors.
The three buttons at the bottom of the form allow you to finalise the record you are creating or the edits you’ve made.
The ‘Finish and Close …’ button will finalise all of your changes and update the saved record. It will then return you to either the main record list or the parent record if this is a child record (see below).
The ‘Finish and New …’ button will finalise the current record and start a new one of the same type. This is useful if you are entering a series of observations.
The ‘Cancel’ button will cancel the current changes and return you to the record list or the parent record. It will first check that you are sure that you want to lose the changes you have made.
Annotations and Uncertainty
In the screenshots above you might notice the small blue icon below some fields. This indicates that the notebook field has been configured to allow annotations. If you click on this icon you will be able to enter either a textual annotation or note, or check a box that might be labelled ‘Uncertain’ or something similar. These annotations are in addition to the data you enter in the field and can be used to make a note about the data - for example that you were unable to take a measurement properly or that you are uncertain about the exact value. These annotations are then available alongside the actual data when it is exported from Fieldmark.
Child and Related Records
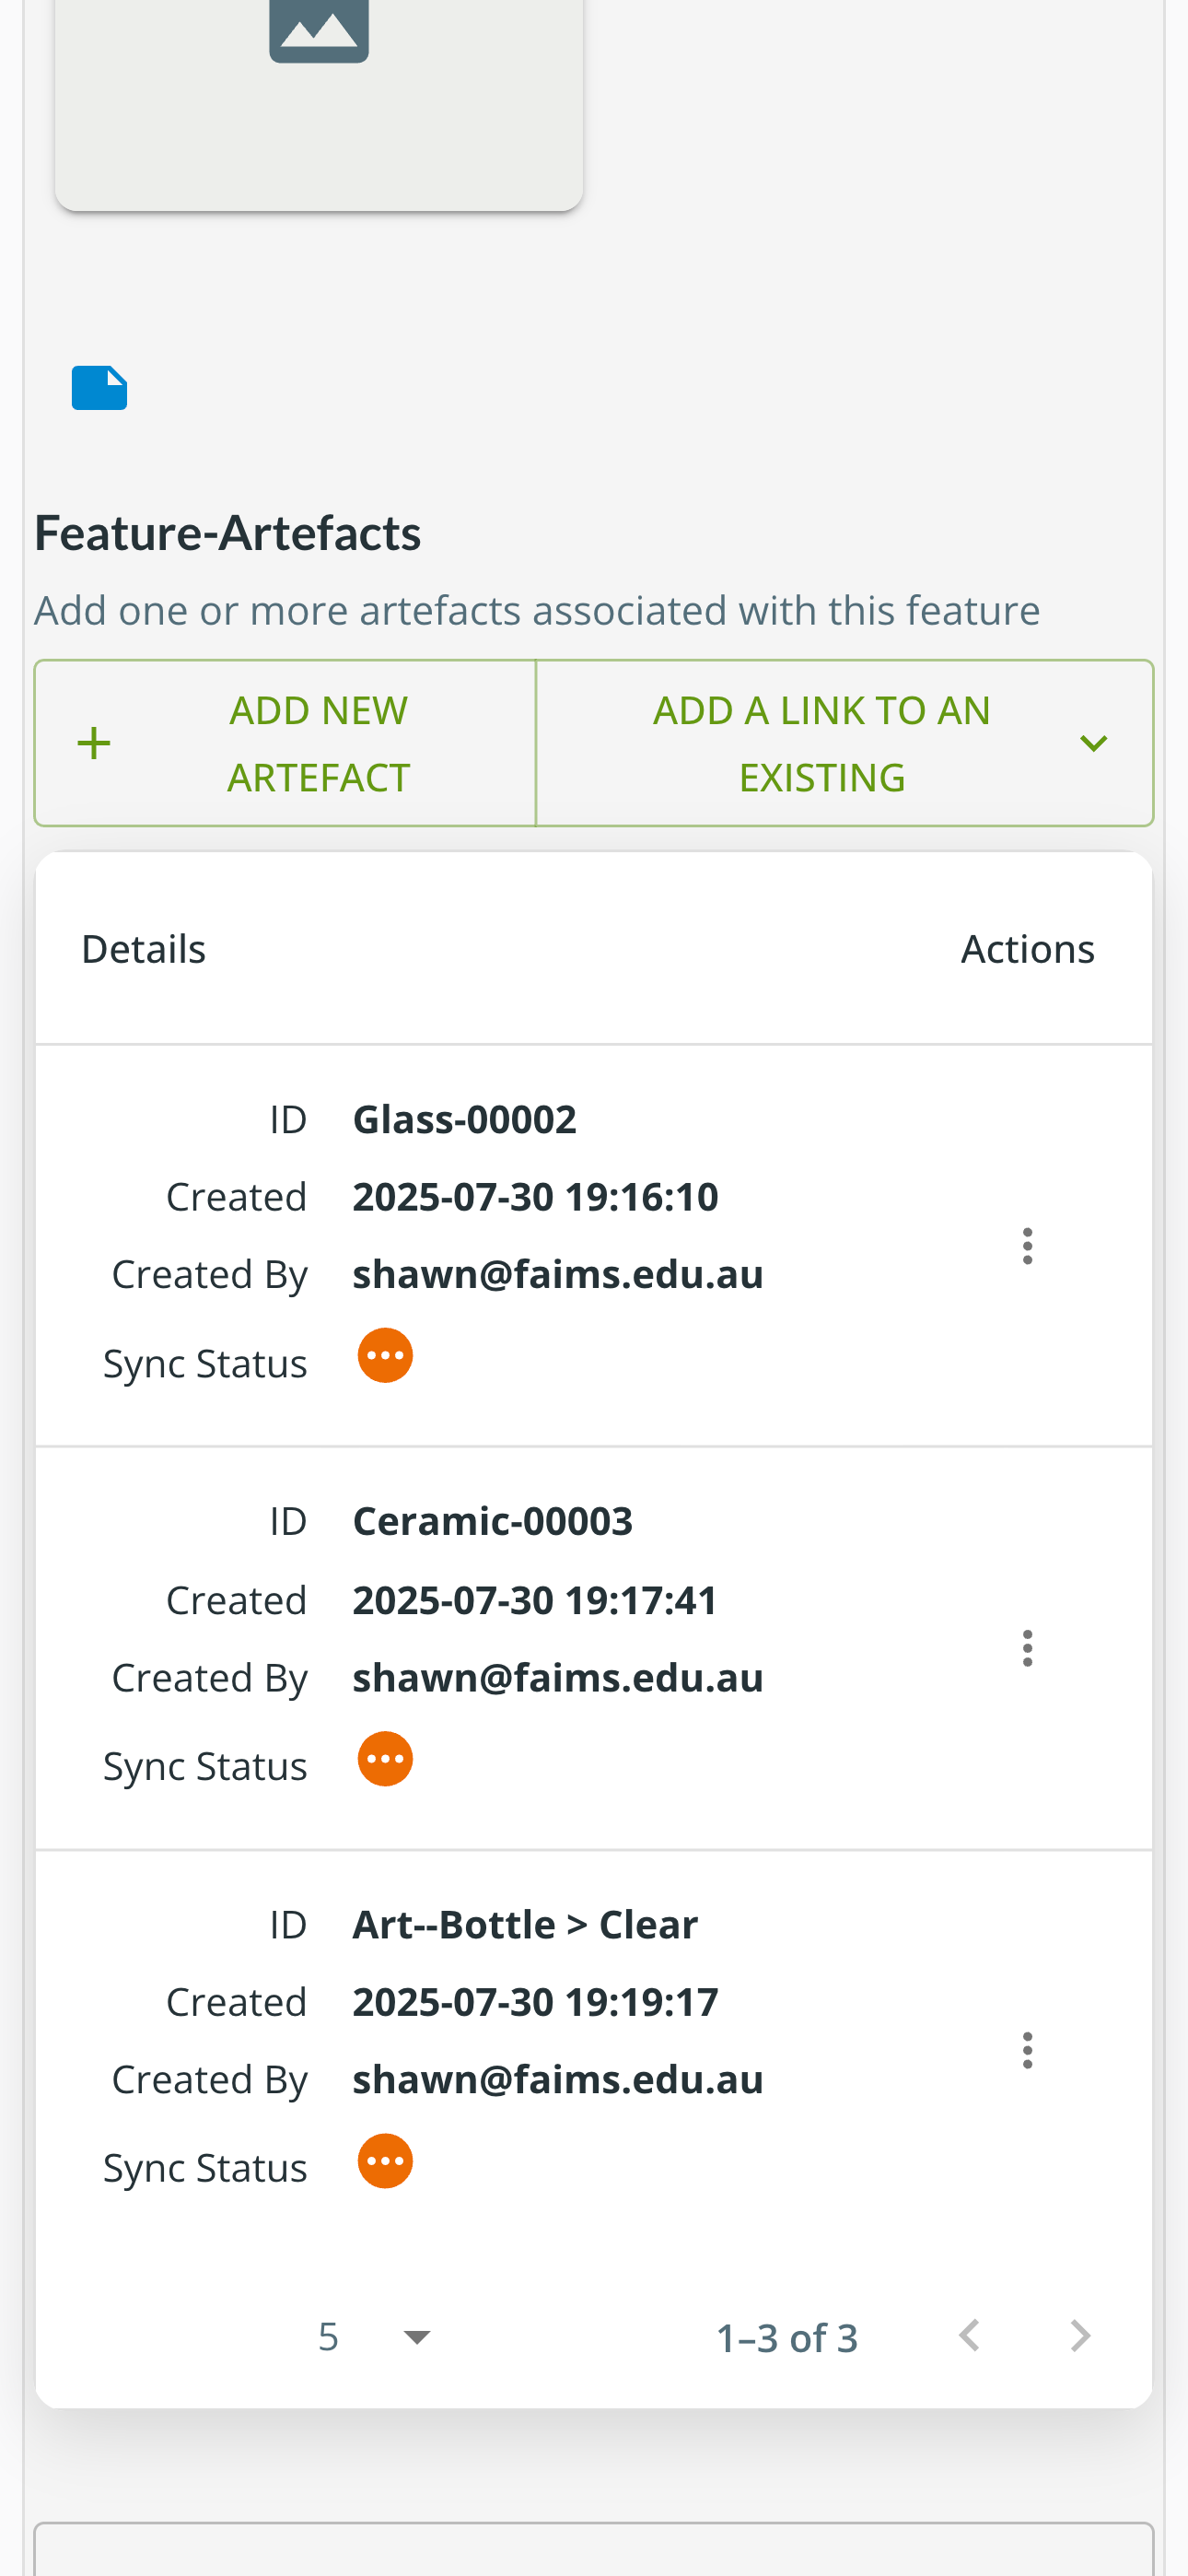
In some records, you will have the option of entering one or more child records associated with a record. In the example in the screenshot, we are editing a record for a Feature to which we will attach one or more artefacts. Here we can see a list of the child records that are already in place, we can click on the Add New Artefact button to create a new child record or click on one of the existing ones to edit it.
Editing a child record is the same as editing any other record, you will fill in the fields and click ‘Finish and Close …’ when done. However, instead of returning you to the main record list, you will come back to the parent record (e.g. this Feature record). Clicking ‘Finish and New …’ would create a new child record in the same parent.
Child records can be used for many different purposes. Examples might be buildings within a survey area, artefacts within an archaeological feature, measurements over time of a single tree, etc.
You may also have the option to add a link to an existing record. This might be used if you want to move a child from one parent record to another (eg. this building actually belongs in a different site). Use the Actions menu on the record to unlink it from this parent record, then go to the other parent record and add the link.
The most common use of relationships between records is for parent-child relationships where one thing contains or is associated with many others. However, it is also possible to configure a notebook to record arbitrary relationships between records. An example might be to record that one site is immediately adjacent to another. In this case, you would see a similar interface to that for child records but you would also be able to select the relationship between the two records.