 Fieldmark Documentation
Notebook Invitations
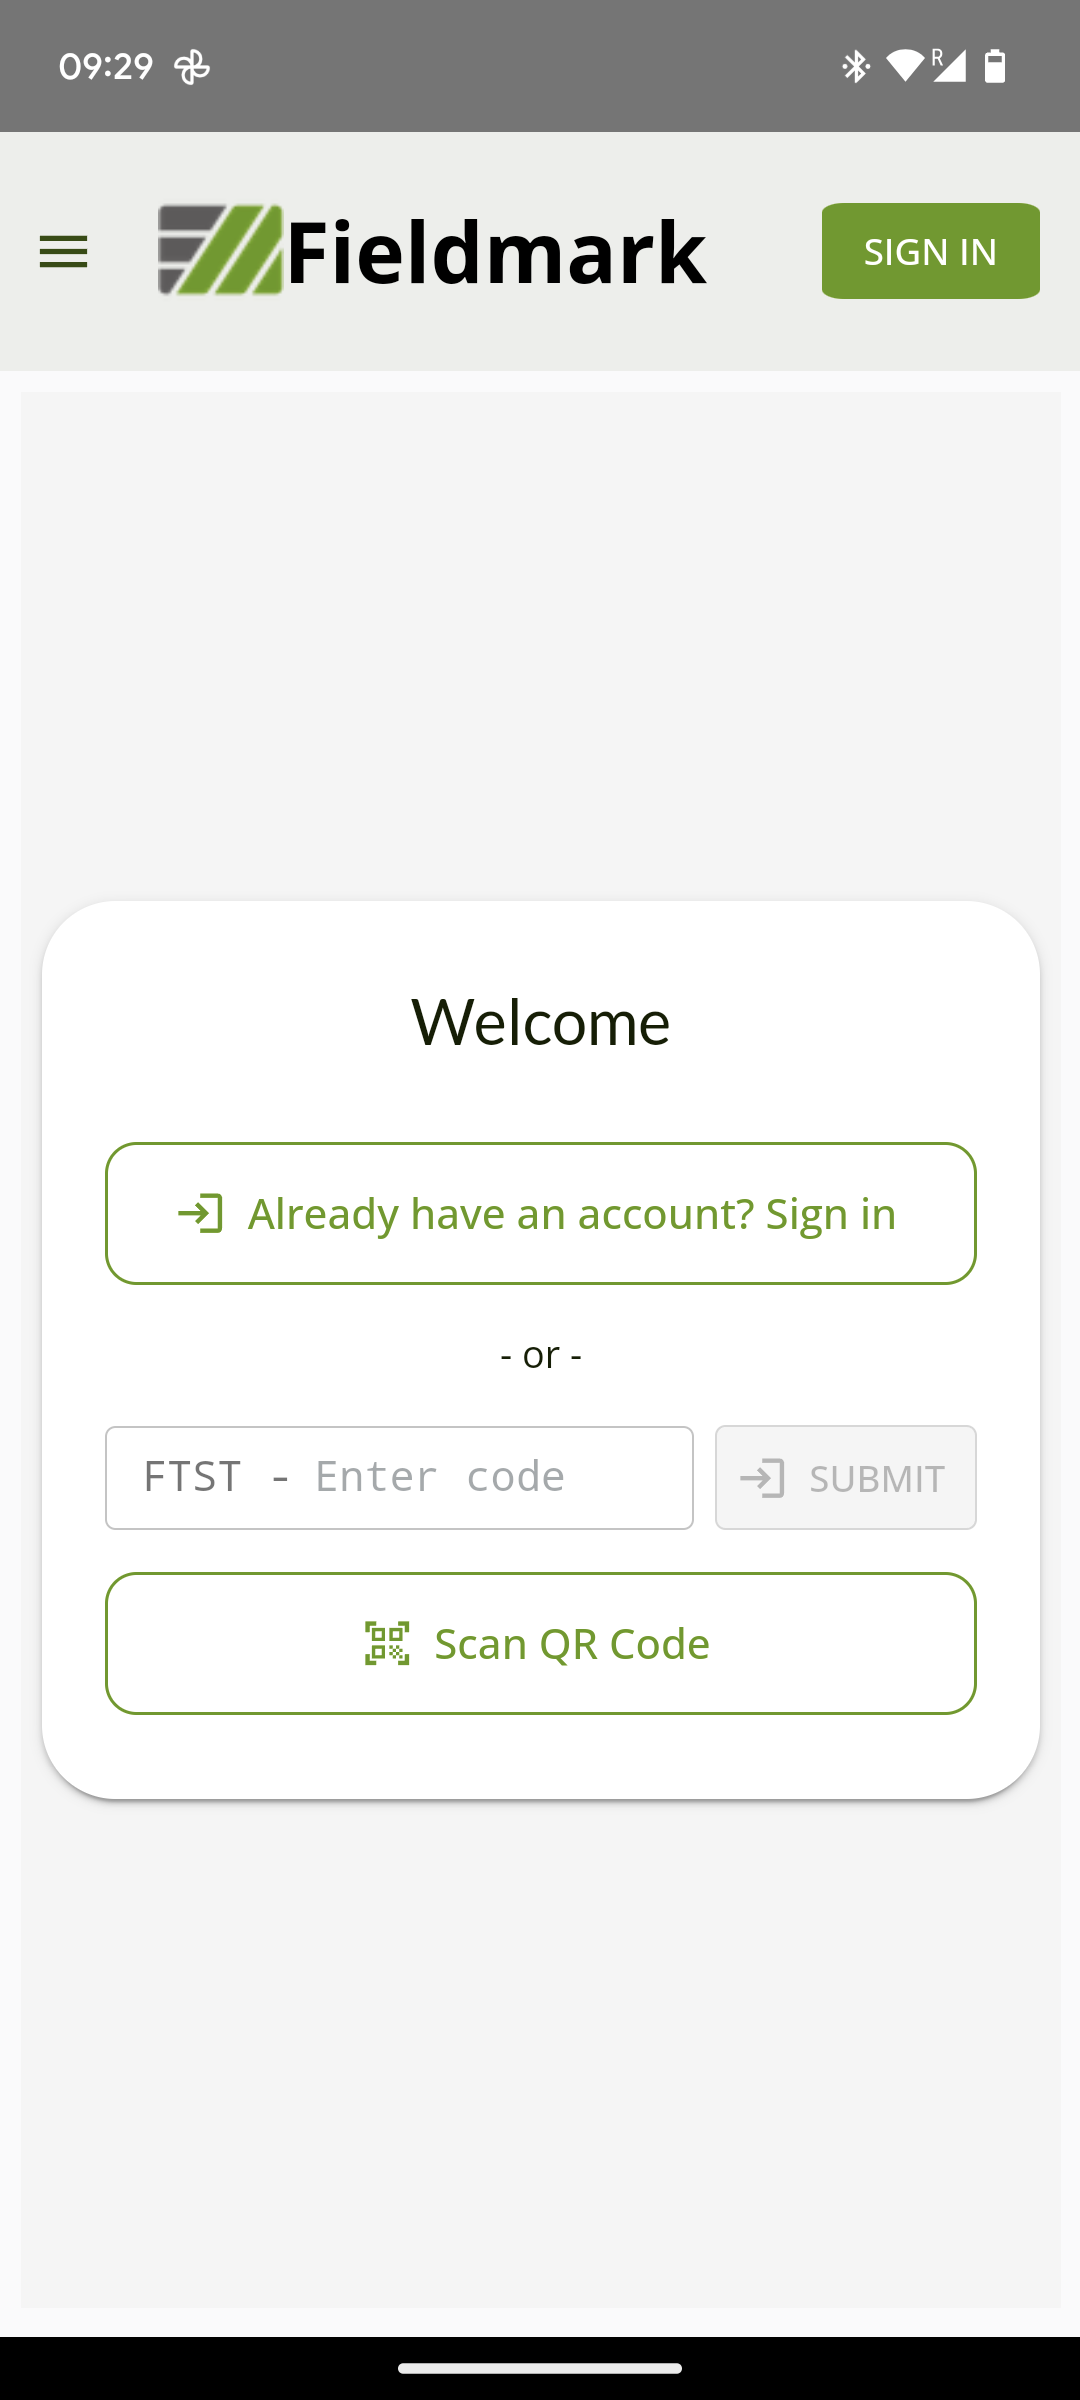
Once the mobile app has been installed, you can get access to a notebook by accepting an invite. Invites are shared primarily as a QR code or link. Typing an invite code is an advanced fallback when those are not available.
Only Team Managers and Team Administrators can generate invitations. See User roles and permissions for more information.
QR coded invitations (preferred)
The QR code option is the easiest way to get access to a notebook. QR code invitations can be shared via email, print outs or directly from your Team Manager’s device.
To accept the invitation, tap Scan invite QR code and scan the QR code with your device.
If you are already signed in, the notebook is added straight away. You do not need to register or sign in again.
If you are not signed in, the scan opens the registration screen.
If you don’t already have an account on the Fieldmark server, you will be able to register for an account at this point. You can either register with your email and password, or you can use a Google account.
At this point, registration just gives you access to this one notebook but you may be given access to others in the future.
If you already have an account on the Fieldmark server but you are not signed in, use Already have an account? Sign in at the top of the registration screen. Once you are logged in you will be given access to the notebook.
After registering or logging in, you will be shown the main notebook list in the app and you can activate the notebook you will be working on.
Invite links
An invite link opens the Conductor registration screen (or sign-in if you already have an account). Share the link by email or message; when opened on a device with the app installed, it completes the invite flow.
Invite codes (advanced)
If you cannot use a QR code or link, you can enter the invite code manually under Advanced: enter invite code instead. If you are already signed in, the notebook is added straight away, the same as with a QR code.
An invite code looks like FMRK-aB3xY9… — a server prefix, a hyphen, then a long random code. Prefer pasting the full code when possible. The prefix identifies the server and should match the prefix shown in your app.