Adding a Field
How to open the Add a field dialog and add a new field to your form.
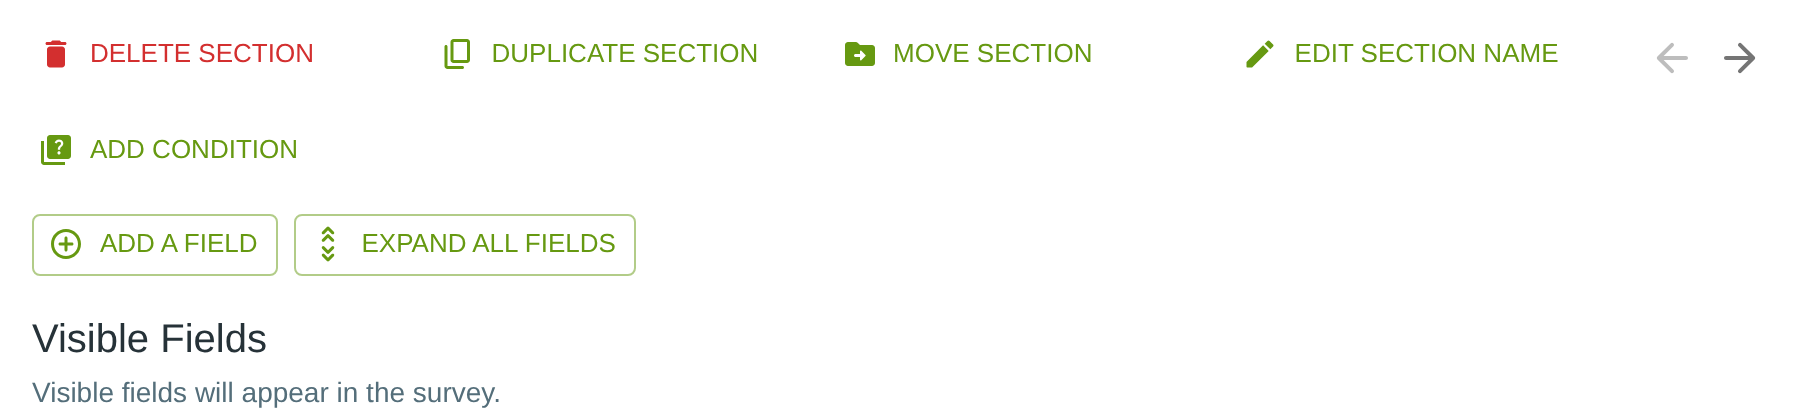
The ADD A FIELD Button
Each section in the Notebook Editor has an ADD A FIELD button below the section editing controls and above its Visible Fields list. Click this button to open the Add a field dialog.
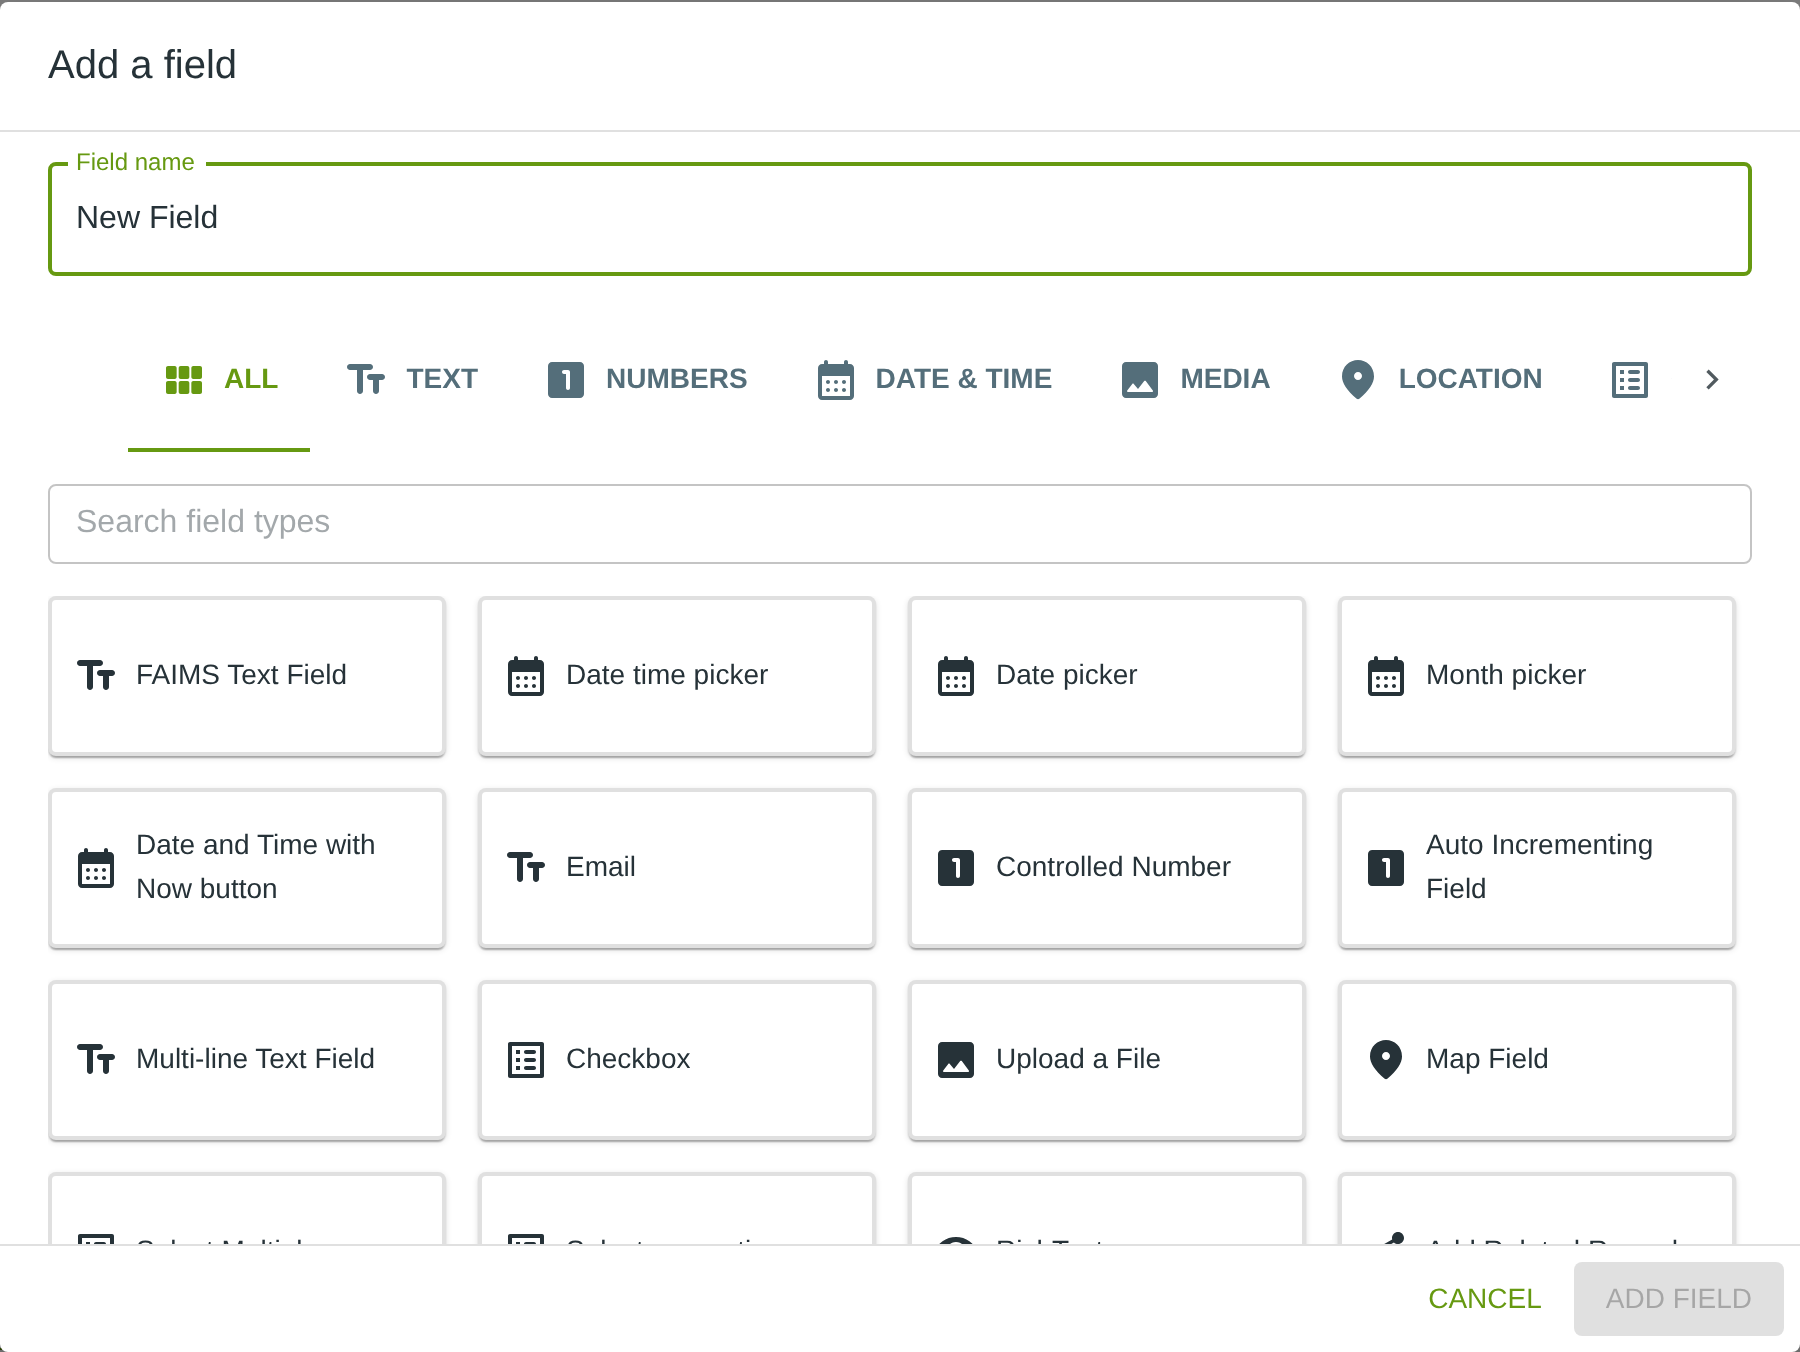
The Add a Field Dialog
The dialog has four main areas:
Tab bar — a row of category tabs that filter the field type cards shown below.
Search field types — a text input below the tab bar that filters cards by name, regardless of which tab is selected.
Field type cards — a grid of cards, each showing an icon and the field type name. Click a card to add it immediately to your form.
Close button — closes the dialog without adding a field.
Tabs
The tab bar organises field types into nine categories:
Tab |
Field Types |
|---|---|
ALL |
Shows every available field type (default view) |
TEXT |
Text field, Multi-line Text Field, Email, Templated String, QR / Barcode Scanner, Address |
NUMBERS |
Number field, Auto Incrementing Field |
DATE & TIME |
Date and time picker, Date only picker, Month only picker |
MEDIA |
Take Photo, Upload a File |
LOCATION |
Take GPS Point, Map Field |
CHOICE |
Select one, Select Multiple, Select Field (Hierarchical) |
RELATIONSHIP |
Related Records |
DISPLAY |
Rich Text |
Note: Not all tabs may be visible at once. If you see a › arrow button on the right side of the tab bar, click it to scroll and reveal additional tabs.
Tips
Name your field right after adding it. After you click a field card, the new field opens in the editor and focus moves to the Label input, so you can type the field name immediately.
Use the ALL tab to browse every field type at a glance, or switch to a category tab when you know what kind of field you need.